To find the Elementor templates go to 'Wordpress' > 'Templates' > 'Theme Builder'
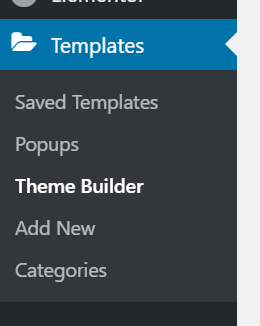
Find the header template used on your website - If you unsure on the exact template please email support@medialinksonline.com

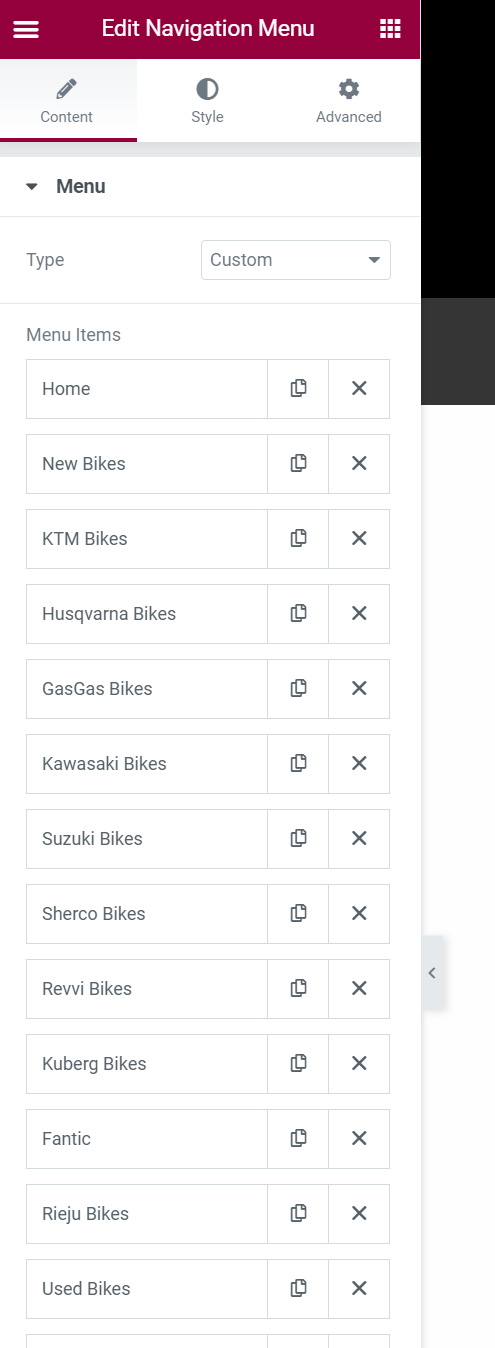
When you are in here the system is pretty self explanatory but click on the menu, and then use the 'content' tab in elementor on the left hand side to makes changes to the existing menu or add new menu items.

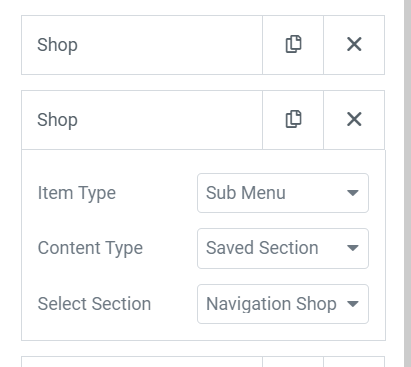
For dropdown menus like this shop item below, you need to add one item which is the top level menu item that the customers see, then you add another item beneath this and set it to 'Sub Menu' this will automatically make it a sub menu of the item directly above it. You then have the option of what type of sub-menu it is from either 'Text', 'Saved Section' or 'Saved Widget'. We are using 'Saved Section' below which then lets you load in another elementor template (useful for making mega menus for shops)
To find and edit this sub-menu if you are using a 'Saved Section' you need to go back to 'Wordpress' > 'Templates' > 'Theme Builder' and find the correct template that's being used to edit it. Again you can ask support@medialinksonline.com if you need help with this.
To edit the sub-menu section, use elementor like you would for any page content. I've added some screenshots below about how we've configured this example and added a new column to it to add a new set of categories.
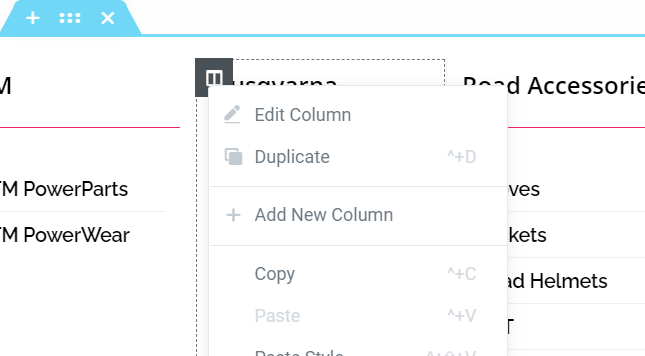
Right click on the column and duplicate it. This will copy the current content / styles and add a new column for you to edit.
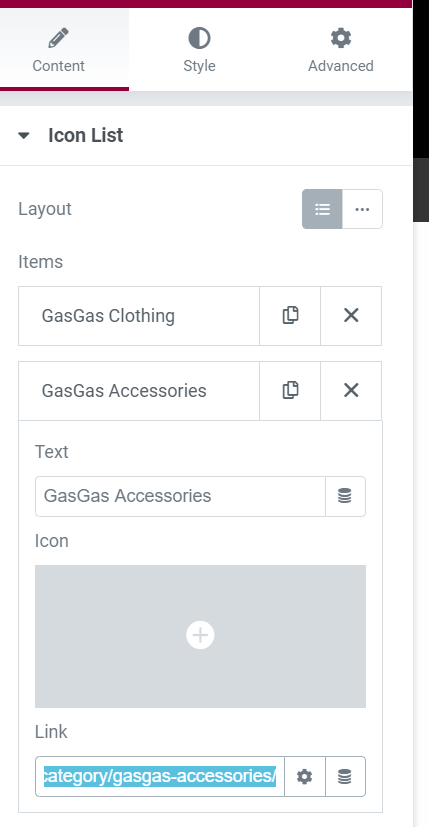
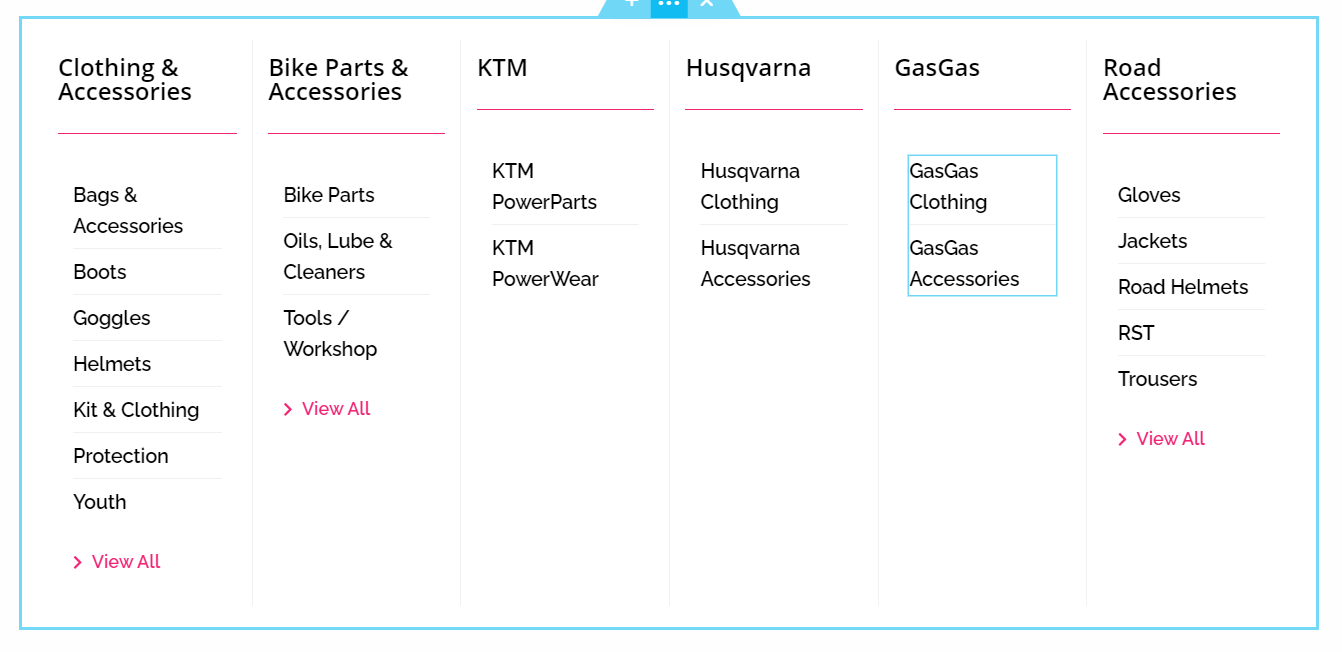
To edit a category simply click on the list widget that's been used and alter the information on the left hand side panel. In this instance we've added an area for GasGas Clothing & Accessories
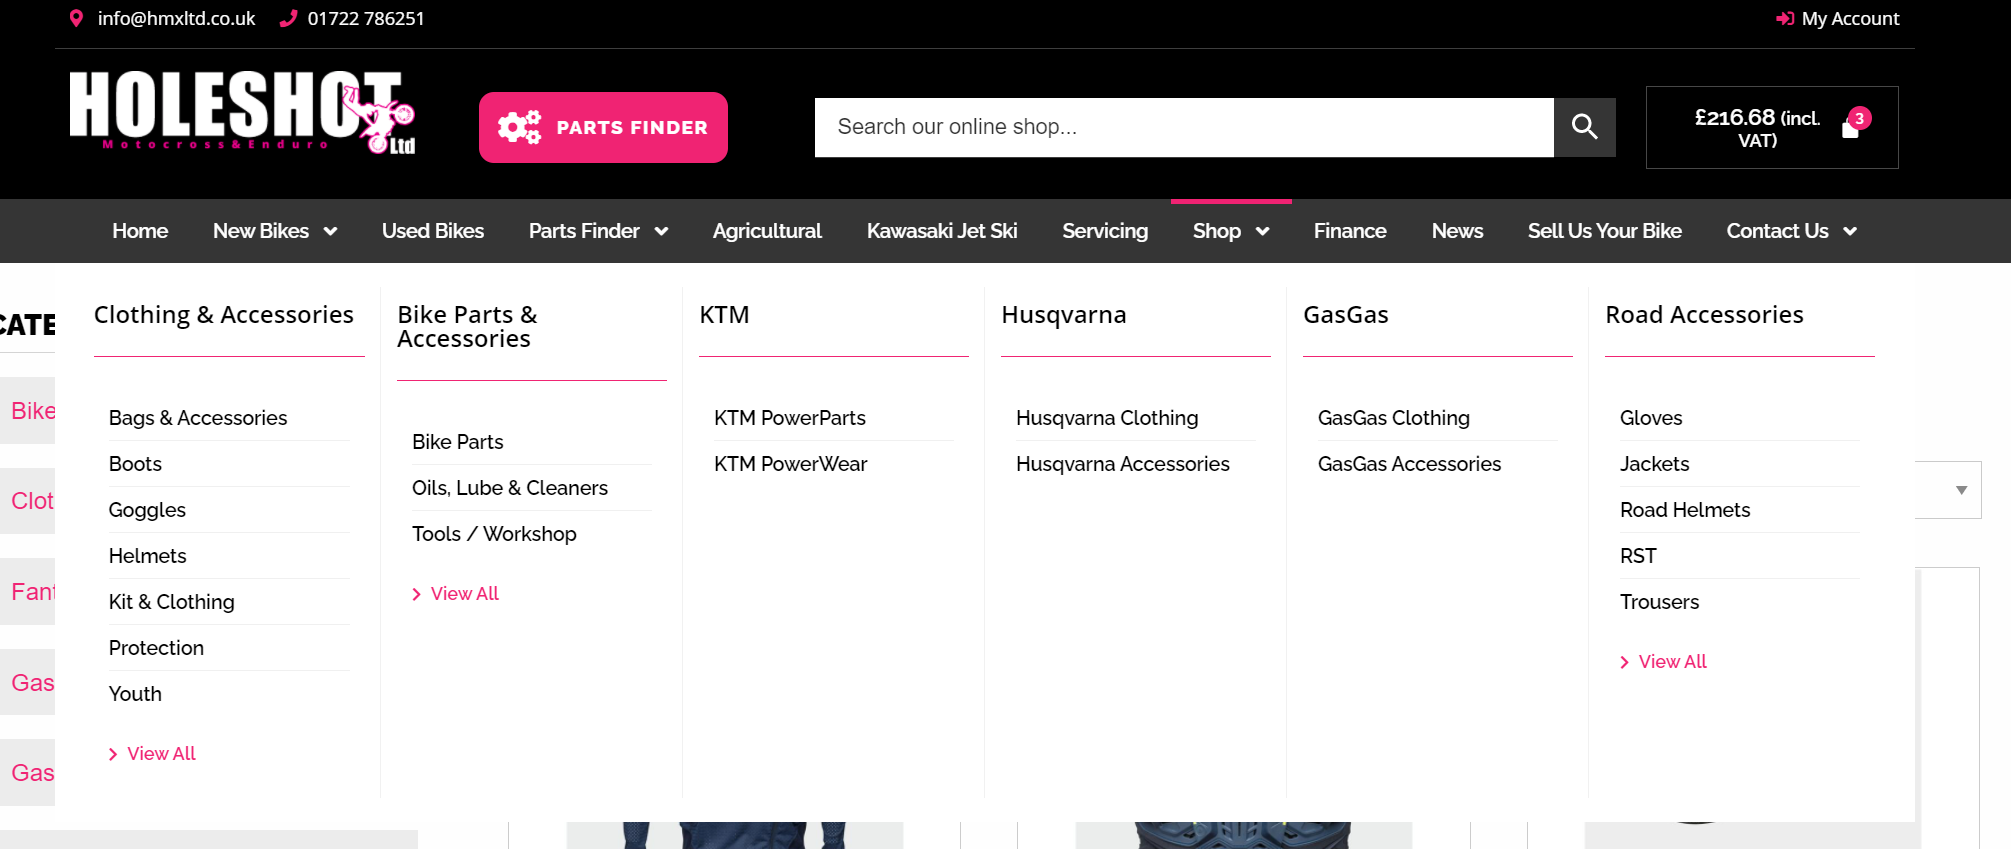
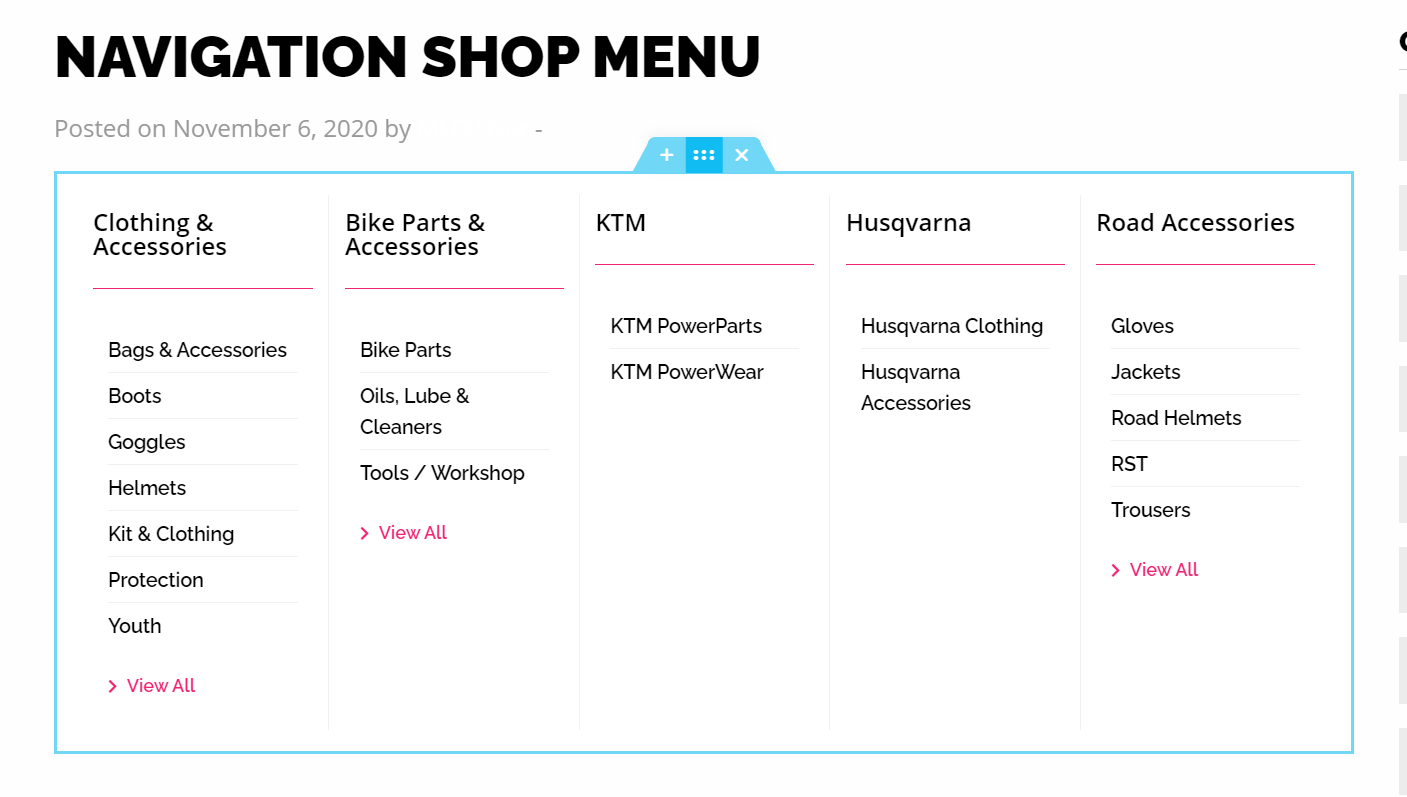
You can see the completed menu here with the new column in place.
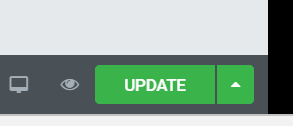
You now need to click the green 'Update' button to push your changes live
And this is how it should look on the front end of the website.