Introduction
By using Elementor section templates, custom fields and the shortcodes created it enables a high level of customisation of the new bike model pages in the system.
This method we can add sections in specified places and create additional content for the model. Before this can be done the site will need to be set up by MLO and the action areas created on the model pages. Once this is completed the following directions can be followed to add in custom content.
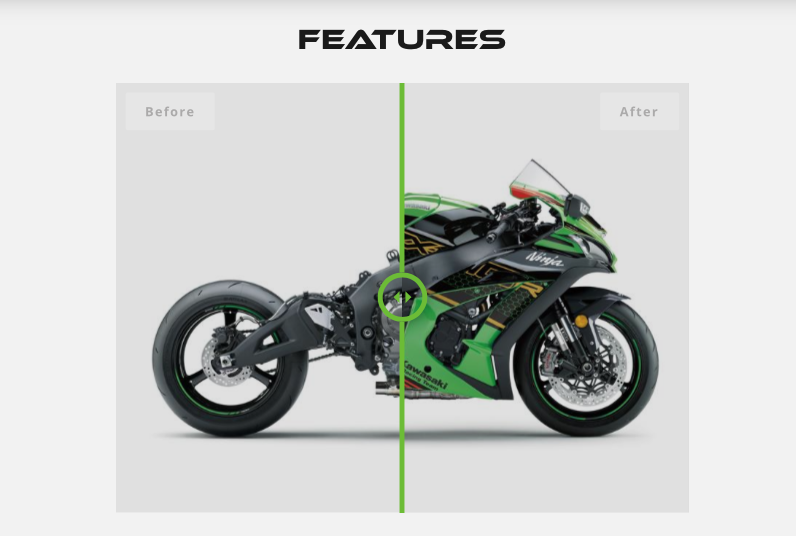
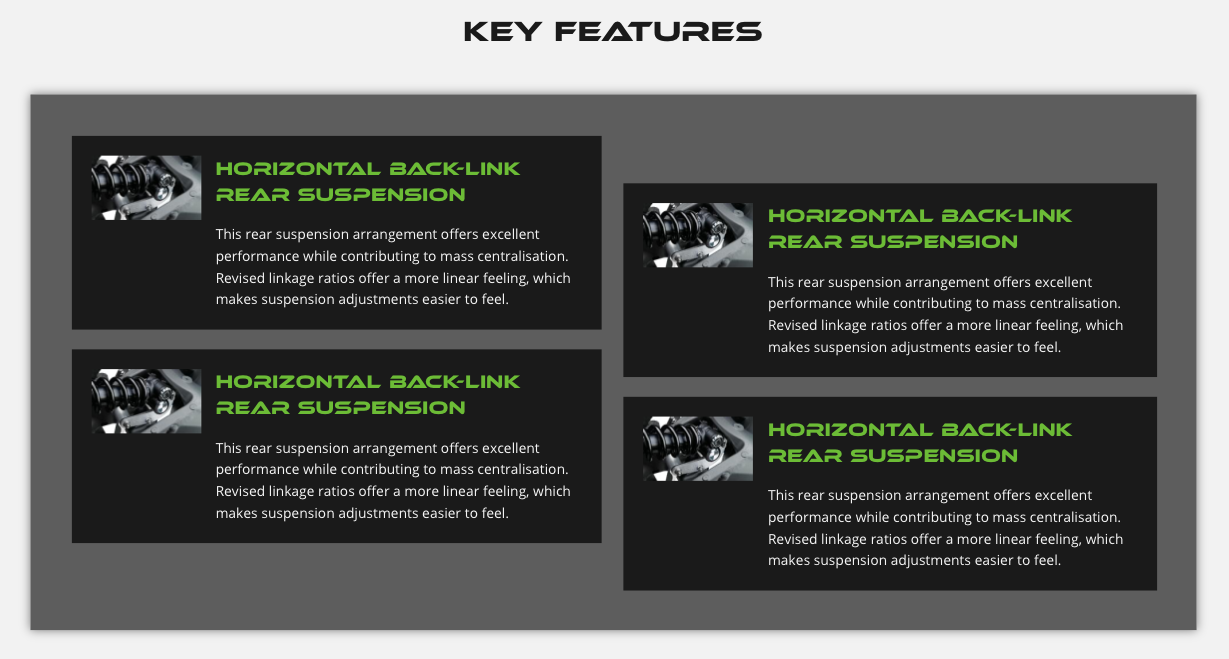
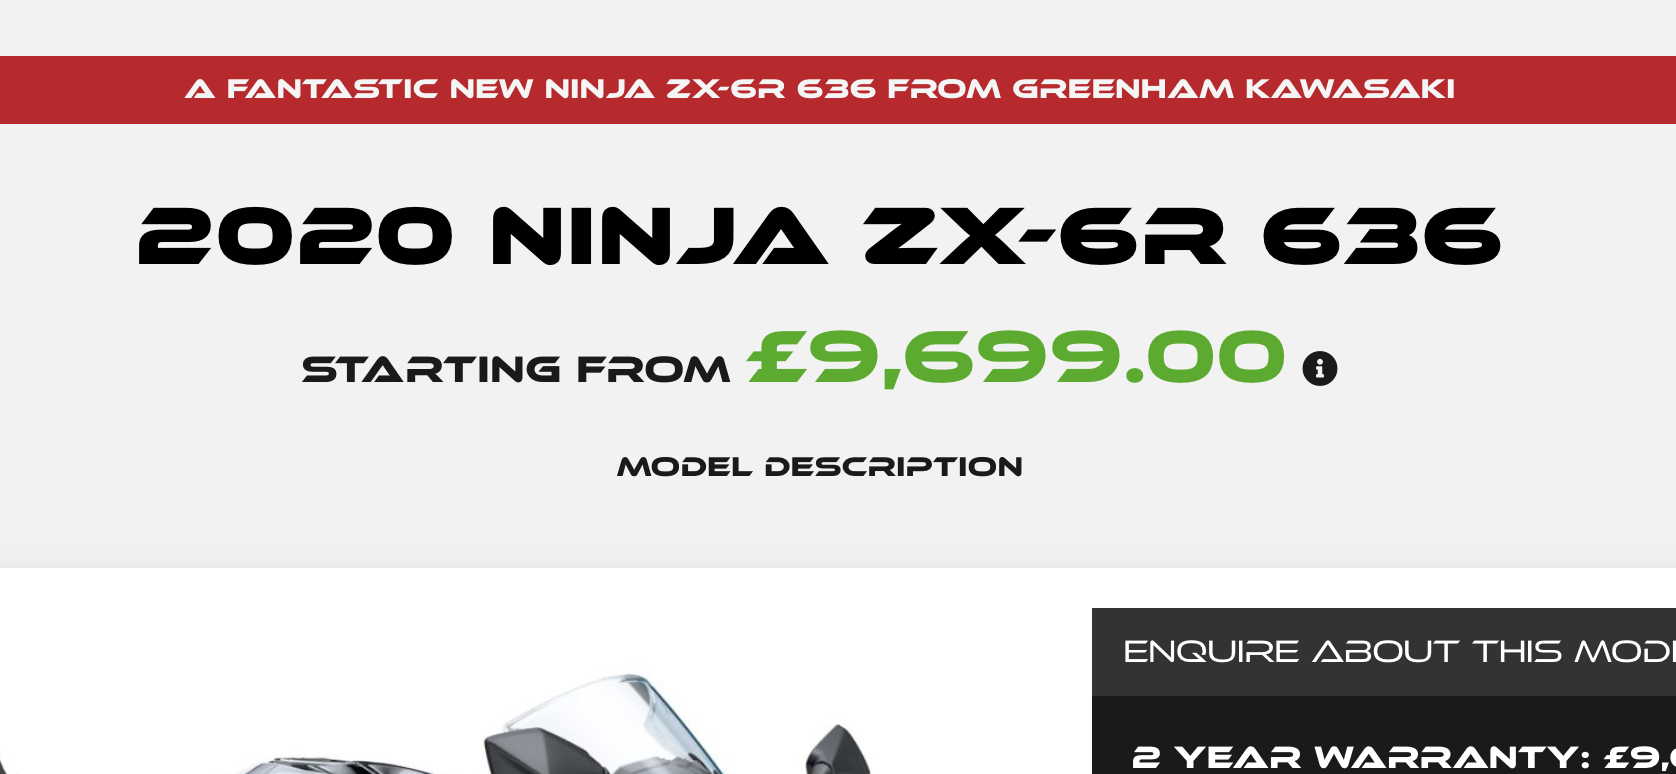
The goal is to create areas like below within the model pages so your new model content can stand out from the rest, offering your visitors a rich experience and encouraging a better SEO ranking.
Custom area like the below can be added into the pages to highlight features or provide new imagery, multi media content or unique content for your dealership.

Creating/Editing your content template
Log into the WP admin area and locate the following section
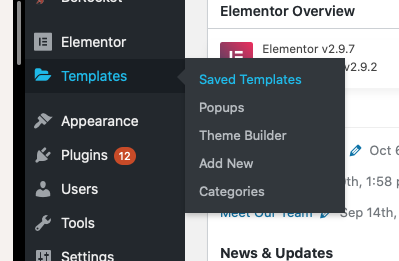
Once the page this loaded click on sections on the top navigation

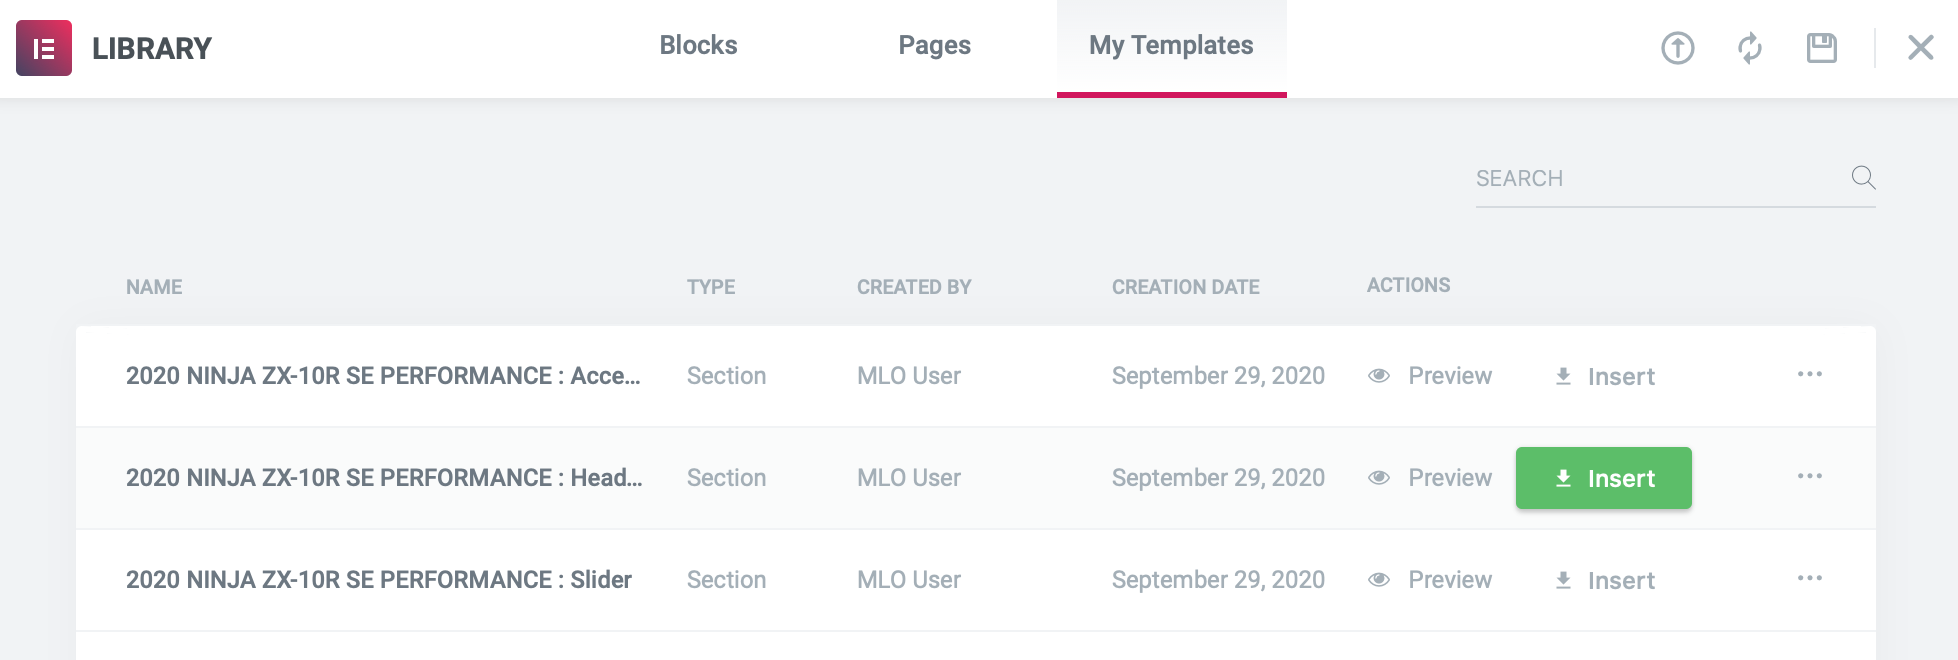
Below you will then see the demonstration sections we have created during the set up of the system for you. They are named to give you an idea of the type of content they contain.
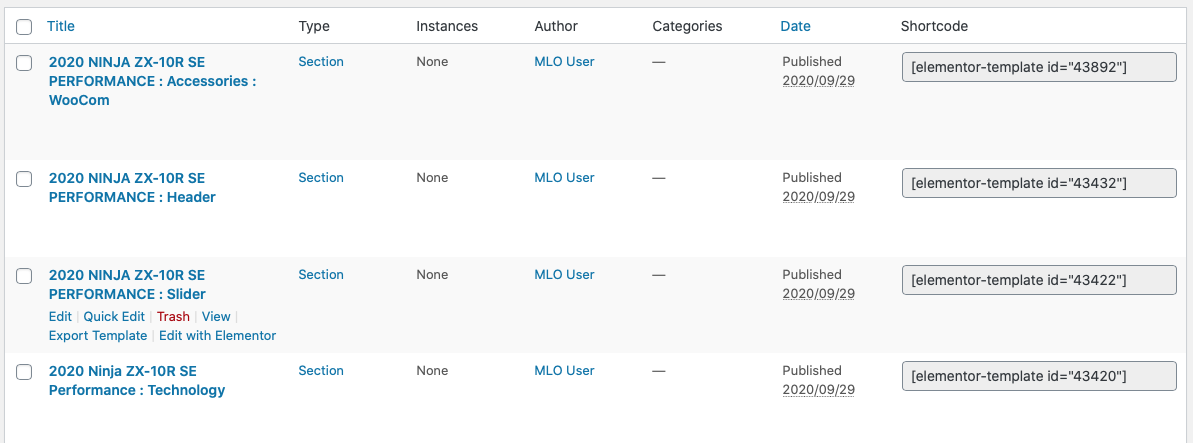
Each template has a unique shortcode which enables you to render this content on the new model page. You can see these codes on the right of the table above.
Editing a template
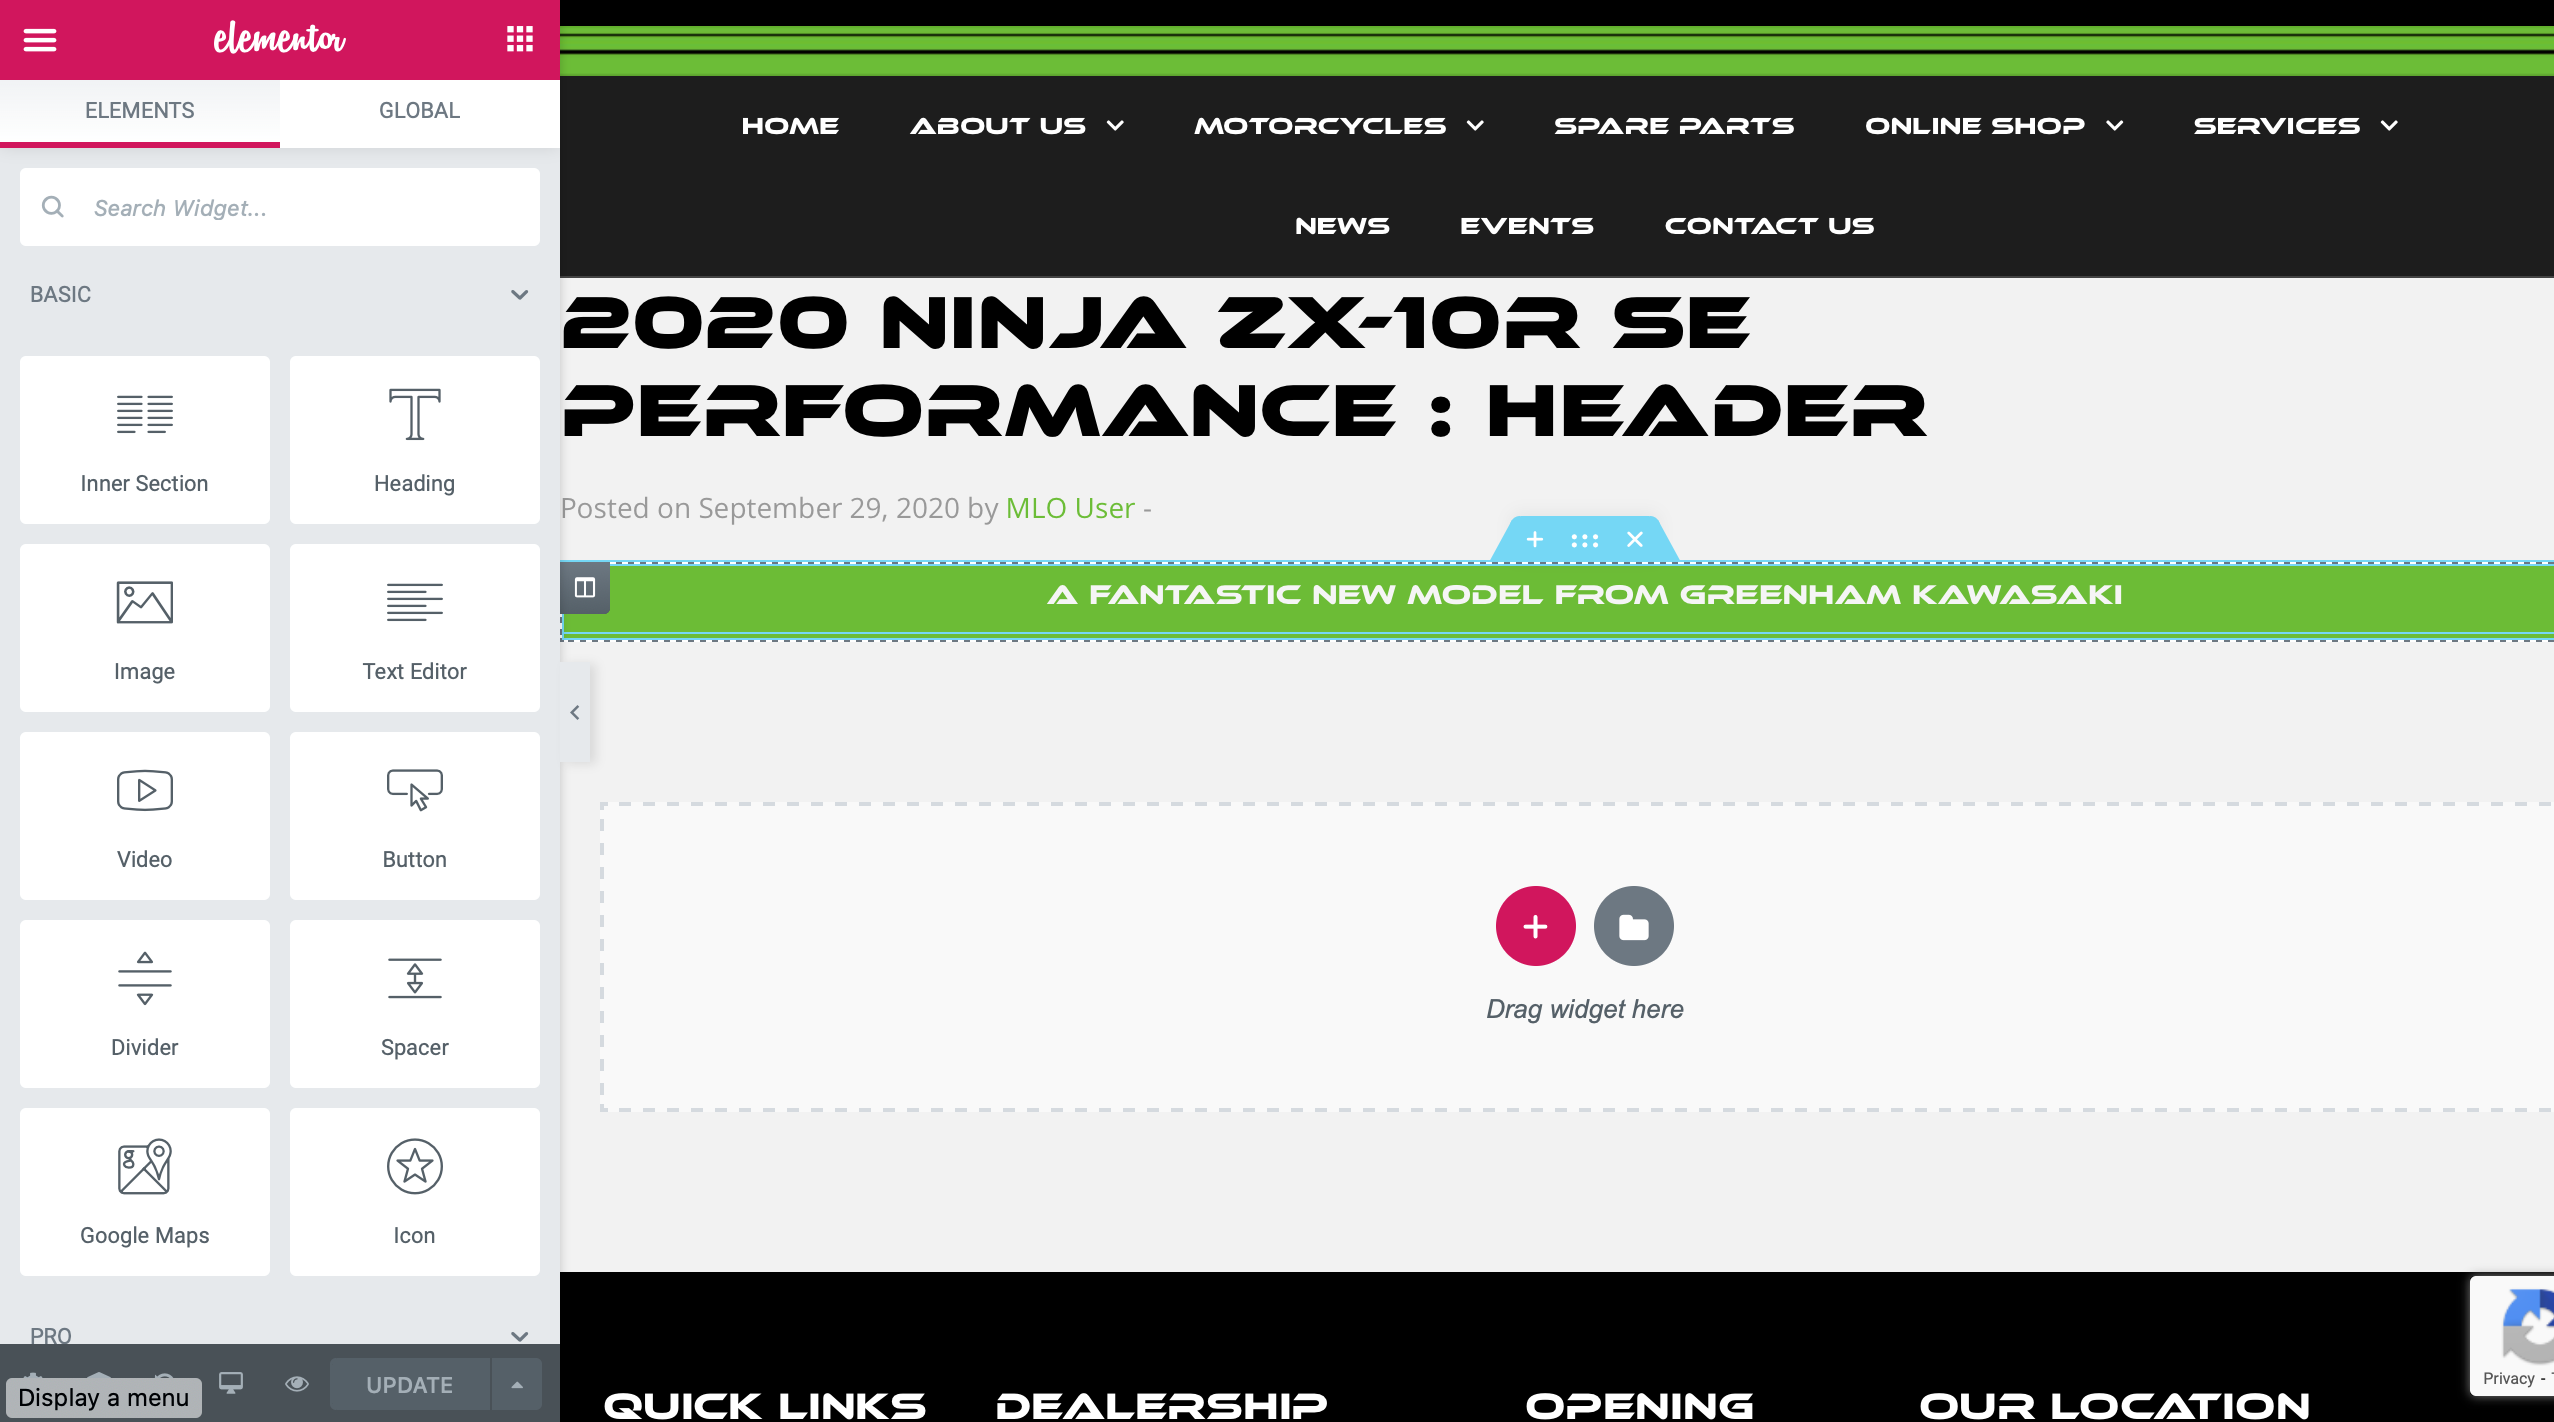
To edit the section, simply hover over the item you wish to change and select 'Edit with Elementor'

You can then edit the section using the familiar interface of Elementor and customise your content. Simply change the content as you require and then save your changes. These will automatically be updated on the model page.
Creating a template
To create a new template simply click on the add new button at the top of the page

Set your template type to a 'Section' and name your template, we have been using the model name and the type of content for example, this makes it easier to find the template when you have a number of them in the system as you can search for it more easily.
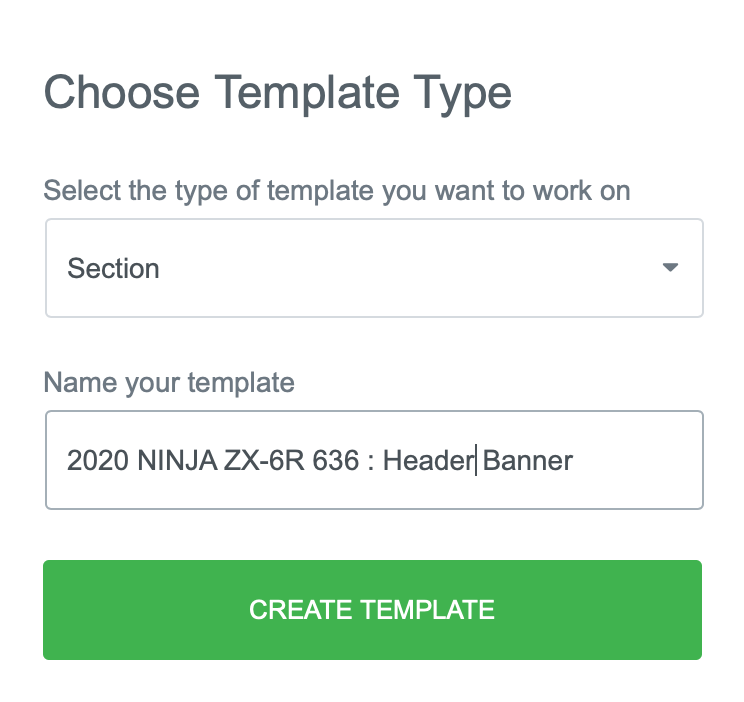
Click on create template and you will be presented with the pick the type of content you wish to create. You can create any type of content you wish. You can also re-use another template you have created before. In this example we will be using the previous header we created.
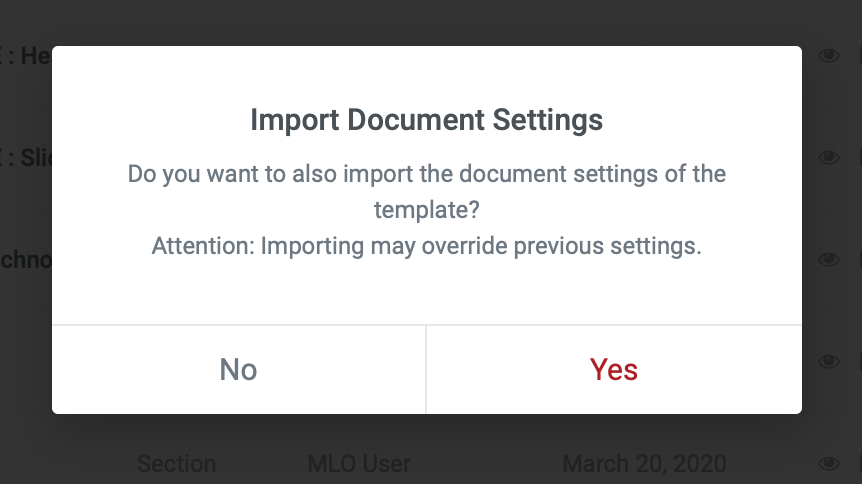
You will be asked to import the document settings of the page simply click yes.
You will then see your page with the header you have used previously already for editing.

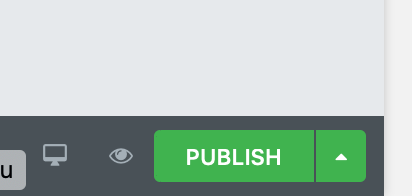
Once your editing is completed you can then publish the template using the button in the bottom left hand side of the page.
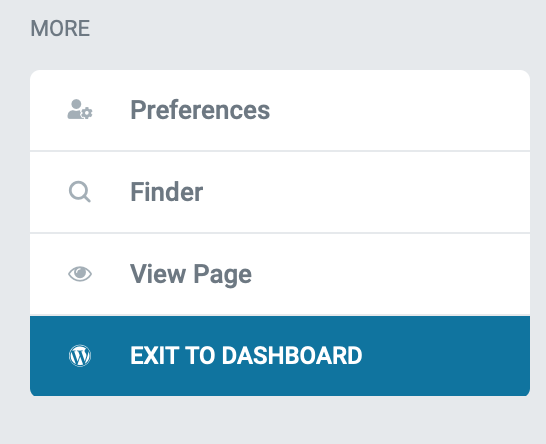
You can then exit the back to dashboard and navigate back to the template area.
Here you will see you newly created template and the shortcode to be used for it's display.

Make a note of the shortcode as we will be using it in the next section.
Adding your template to a model
Now we have to add this template to your chosen model All of the models we supply are held in the Assets section of the site, see below.
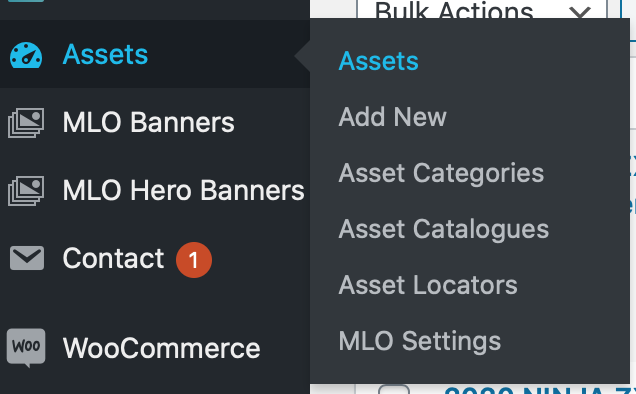
Simply click on the link for Assets and you will be presented with all of the model assets that you have in your site. Search for your modelling the search posts area on the top right of the page.

Hover over the model name and click on the edit link for your chosen model
You will be presented with the new models asset page and you main things you will see are the title and the description of the model. If you scroll down the page a bit you will see the area called 'New Model additional Fields' This is the area you will add your shortcode so it can be seen on the model page.
You may have to click on the banner where the text for New Model additional Fields is on the page to expand the fields where you can enter your shortcode.

Update your desired field with the shortcode from the previous step and then click on update.

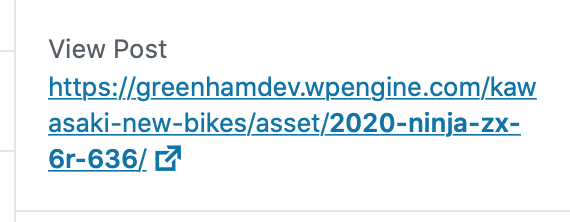
You can then click on the view post link to see your banner in place.
Once this is done all you have to do in the future is edit the template and the graphics, message will change on this model automatically.
You can then repeat these steps for each model and create all of your own custom model pages.
If you need any further assistance then please let us know.