Custom New Model Category Page
The objective of this guide is to show you how to edit the new model category page of your website and create your own categories banners, advertising banners or any other marketing material on the page. The principals are all the same.
Log into the website admin area of your website
To do this simply add /admin to the end of your domain name and you will be presented with the log in screen for WordPress.

Enter your log in information and you will then be presented with the dashboard screen.
Hover over the top left menu and you will be given the option to 'visit site' Click on this option and you will now be visiting the website but in admin mode. 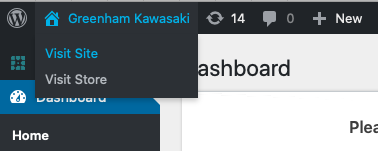
This will be confirmed by you seeing a black strip banner of menu options above the site.

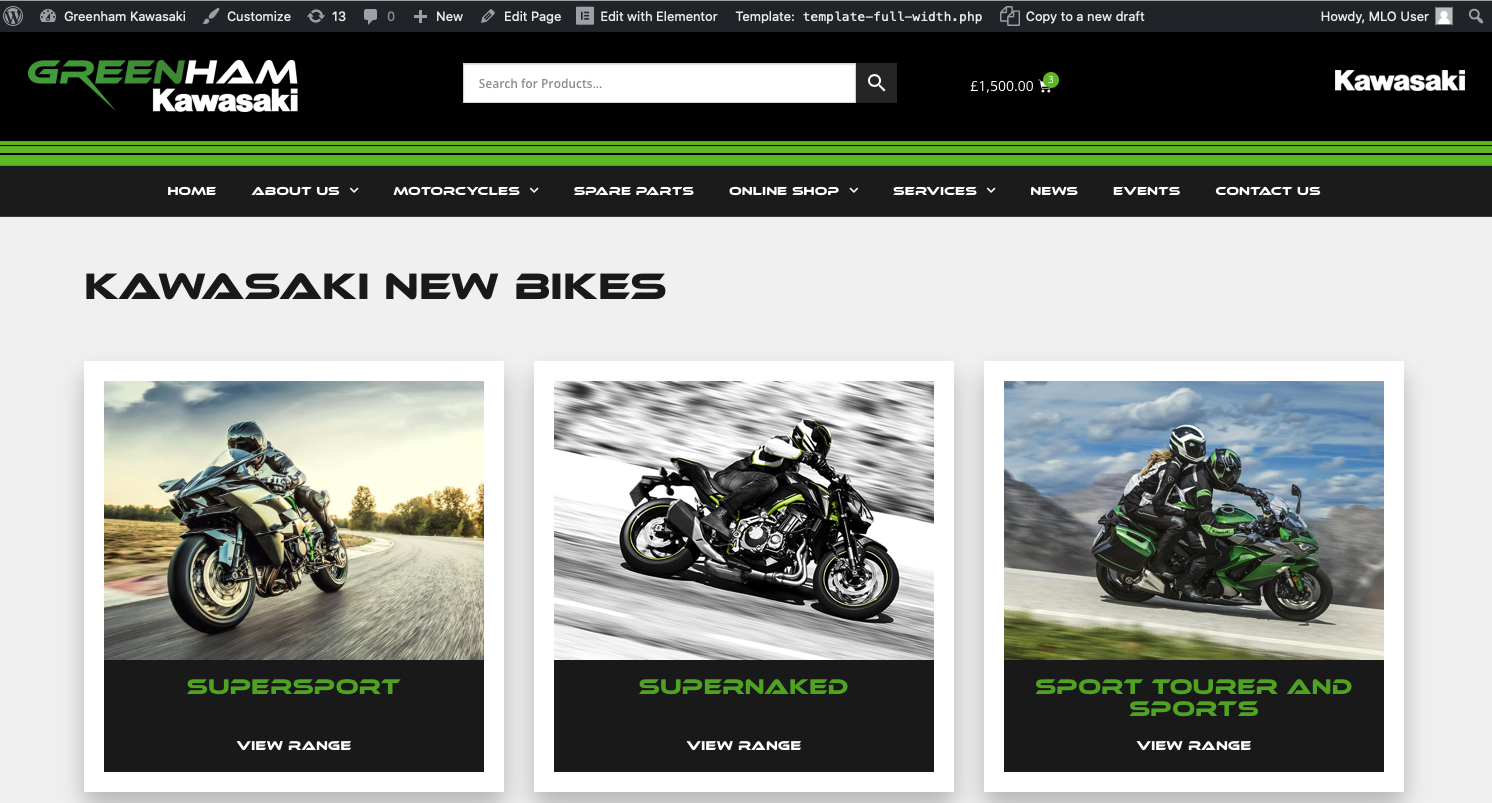
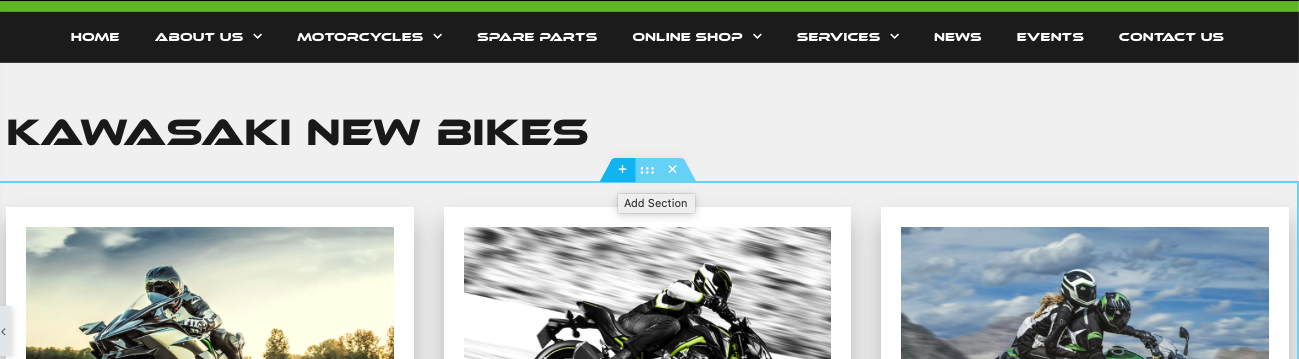
You can now navigate the page you wish to edit, for this guide we will be editing the new model category page. On this particular site this is the 'Kawasaki New Models' page
You will be presented with the following page:
Edit the page
Once you are on the page you wish to edit at the top of the page click on the 'Edit with Elementor' button, this will take you into the edit screen.
Although at first this screen may seem quite complicated you will soon find your way around it.
On the left hand side are all go the Elementor layout tools which you can simply 'drag and drop' onto the page.
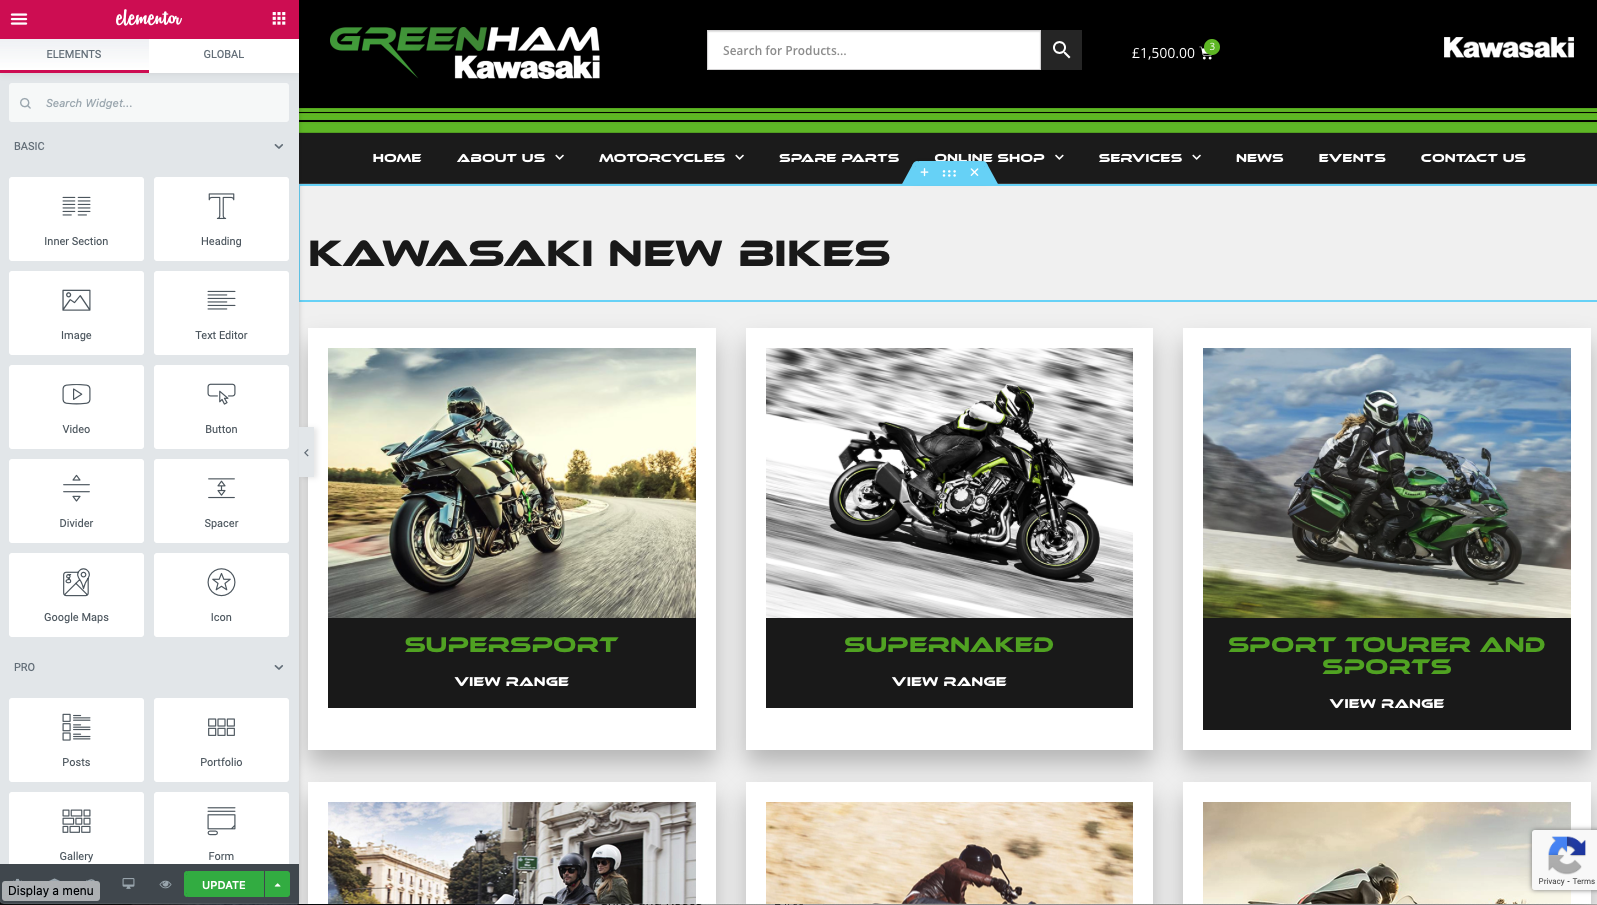
To do this we first need to make an area to on page to do this. Then you hover over the news bikes area you can see a blue box surround the area with a blue tab appear on the top centre. If you click on the '+' symbol you can add in another section on to the page.
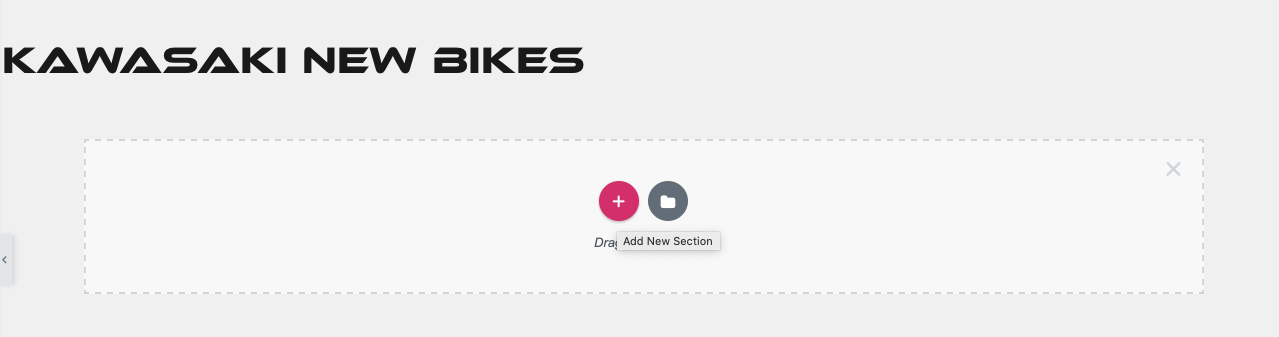
One you have clicked on the button you are given a choice to click on the circular + icon or the folder. Click on the circular + icon.
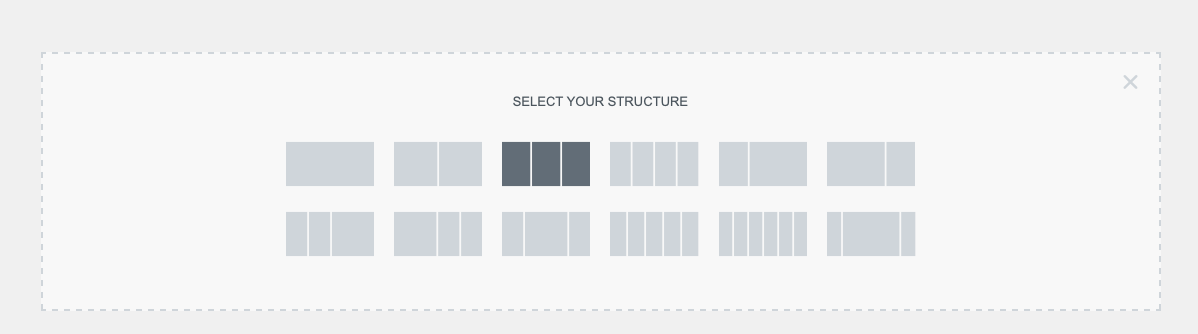
You then get the option to chose the amount of columns you will need for your layout. In this example we are going to copy the existing layout of categories, so we will be selecting the 3 column layout.
Inserting a section creates a new row on the page in which you can insert content. After you have followed the above steps you should see a row with three columns in it like below.

Once you have done this you can then add some content. Click on the boxed icon at the top of the left hand navigation section.

Simply click in the search box and type 'call to' and you will be given the following options.
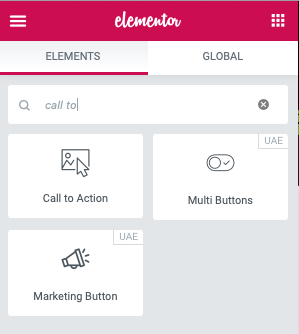
Now click on the call to action icon and simply drag this into one of the columns you have created.
Now all we have to is customise the and style the widget we have dragged on to the page. You can do this by clicking on the widget and then using the options on the left hand side of the page to make changes. Here you can add in a new image, customise the text links and colours.
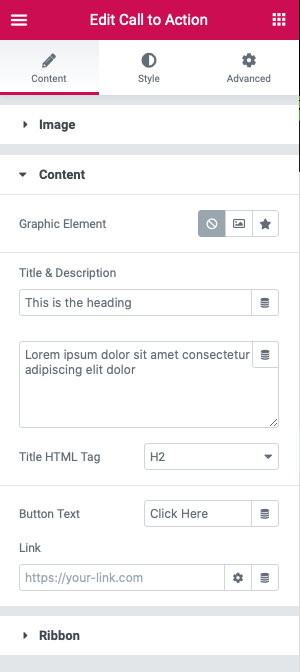
You can find more information about how to do this here: https://elementor.com/blog/call-to-action/
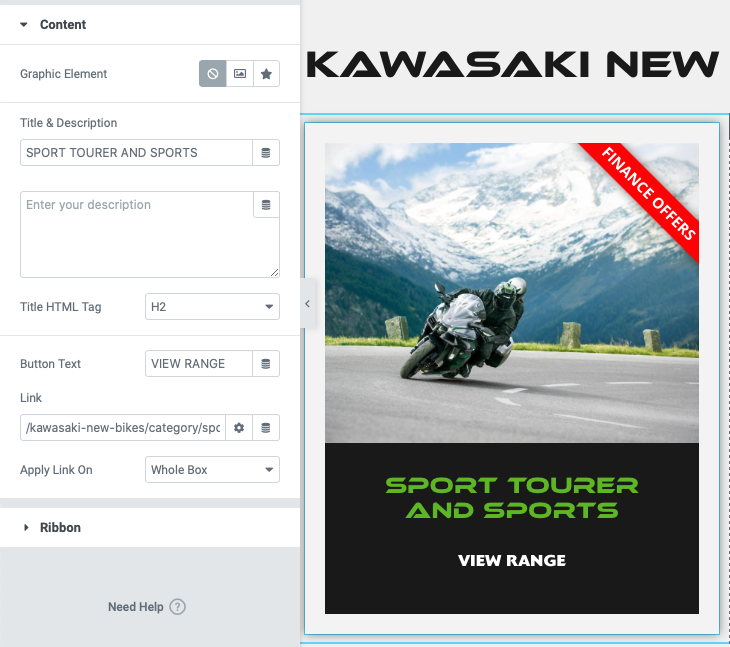
Once you have completed your styling then all you have to do is add a link to your category or to where ever you wish to direct the user.
Once you have done this you can save your page by clicking on the update icon at the bottom of the Elementor panel on the left of the page. If you wish to preview your changes then simply click on the eye icon next to the update button, it is best to do this following saving the page.

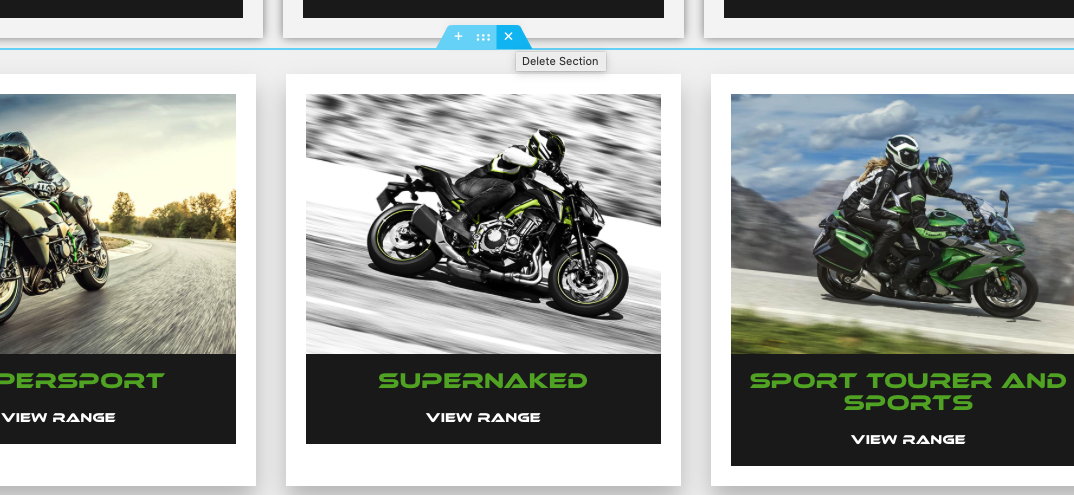
Once you have created one 'call to action' banner you can simply copy and paste the design into the other columns. Once your row is copied, you can also duplicate the row of banners before customising each banner as you need. See the animation below to see how to do this.

Once you have done this for all your categories. You can simply delete the original section that is provided by default.
It is important to note, that once you replace the supplied category page with your own custom code it will no longer update automatically. This will need to be maintained by yourself.
If you need the original categories inserting back into the site then please contact us.
Please contact us on support@medialinksonline.com if you have any questions or issues.