First you will need to login to your WordPress site. For help on this please see this guide here.
Once you have logged in, navigate to WooCommerce > Products > Add New:

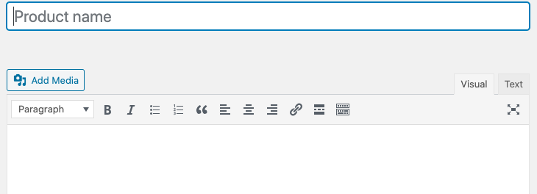
Title & Description
Now enetr the vehicle name and add a description:
Attributes
Scroll down further and use the 'Product Data' section to add specifications to your vehicle (you can click on an attribute to expand and add information). If you have added information previously the field may auto fill, if not, you can click the “Add new” button:

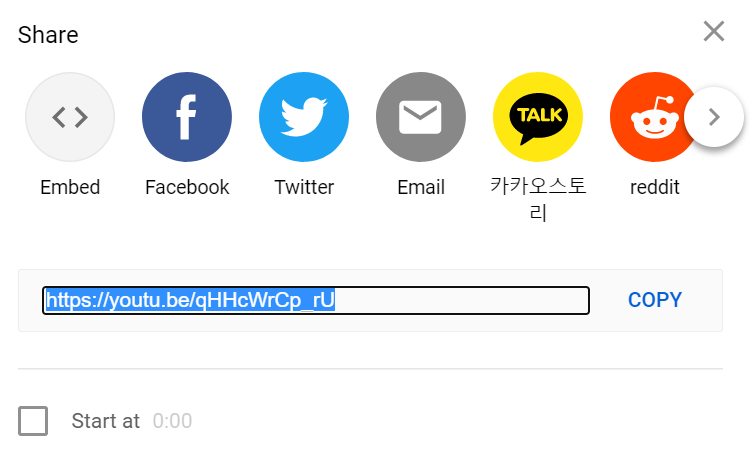
Youtube Videos
Within the attributes section there is a attribute for a YouTube URLs so you can upload a video against a vehicle. To do this, you just need to paste in the 'Share' URL that youtube gives you like this;
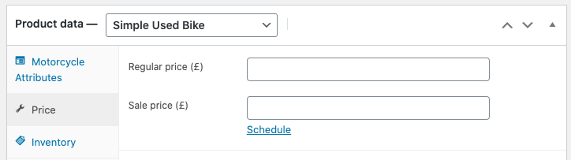
Pricing
To give your product a price, use the tab on the left-hand side called “Price”, this will then enable you to price your item (note: if you click the “Save Draft” button located at the top right of your screen you can come back to your listing and finish it another time):
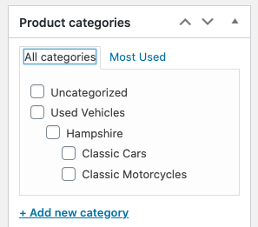
Categorising the Stock
Use the “Product categories” section on the right to categorise what your product may come under:
Uploading Images
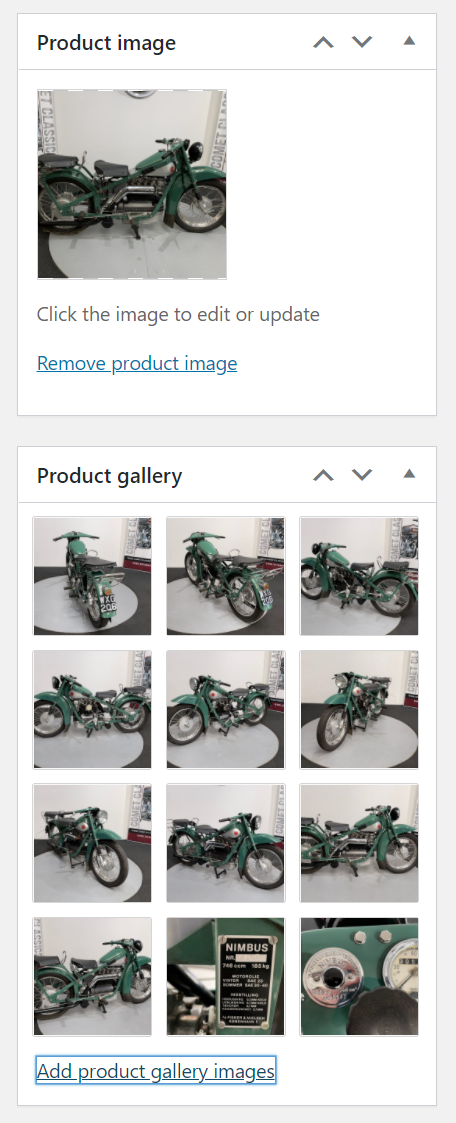
Lastly, to add images to your listing you will need to scroll down and on the right-hand side of the screen will be two sections:
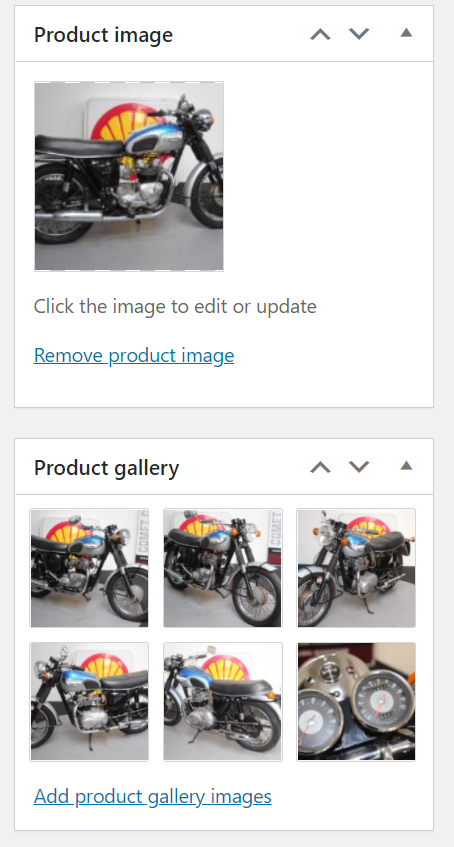
- “Product image” is the single main image. This is usually a clear image of your product and will be the first image a customer will see.
- “Product gallery” will be the rest of the product images you would like your customers to see.
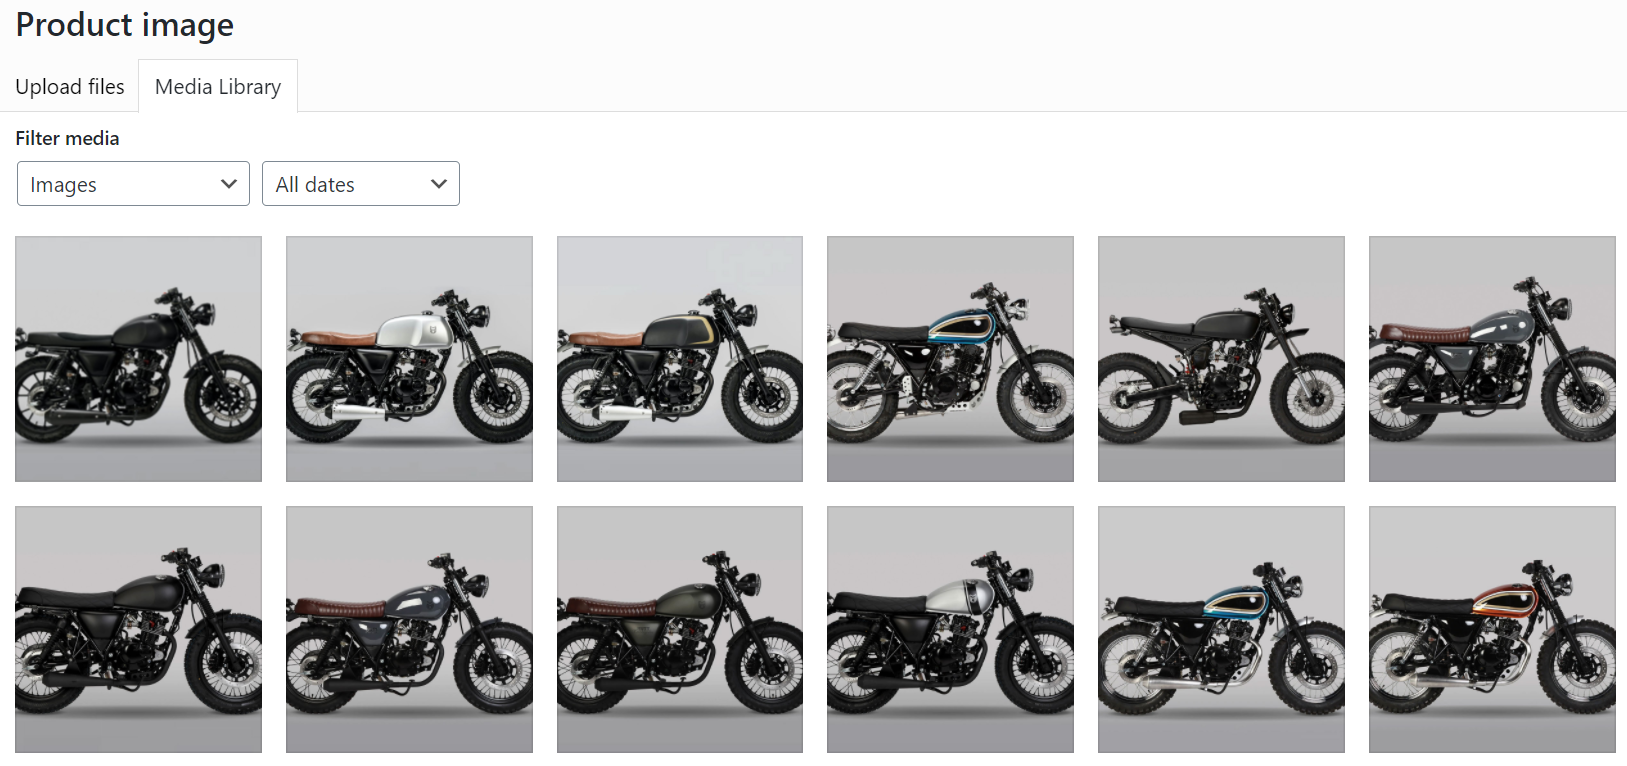
From either of these areas you can choose from existing images that are already in your media library or add your own, just click “Upload files”
Setting up Deposist
If you have the additional plugin with your WooCommerce store that enables deposits then the following tab lets you configure this against each vehicle
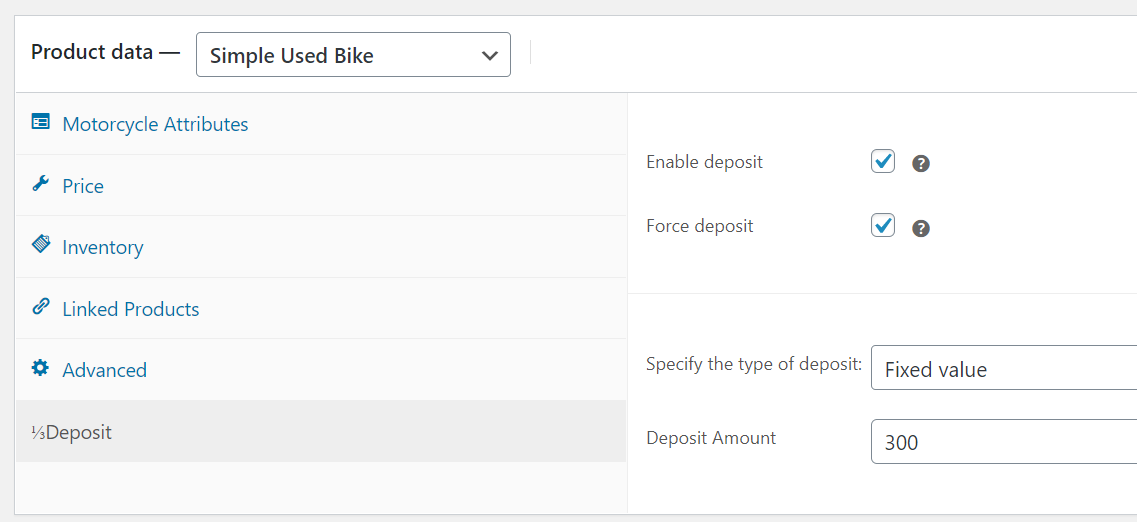
Make sure you use the same settings as in the picture above, so;
- Turn on Enable Deposit
- Turn on Force Deposit
- Select the type of deposit as 'Fixed Value'
- Set the deposit amount to whatever figure you want. In this example it's £300
One final thing to do if you are turning on the deposit functionality is to make sure only one item can be purchased at any time from the 'Inventory' tab
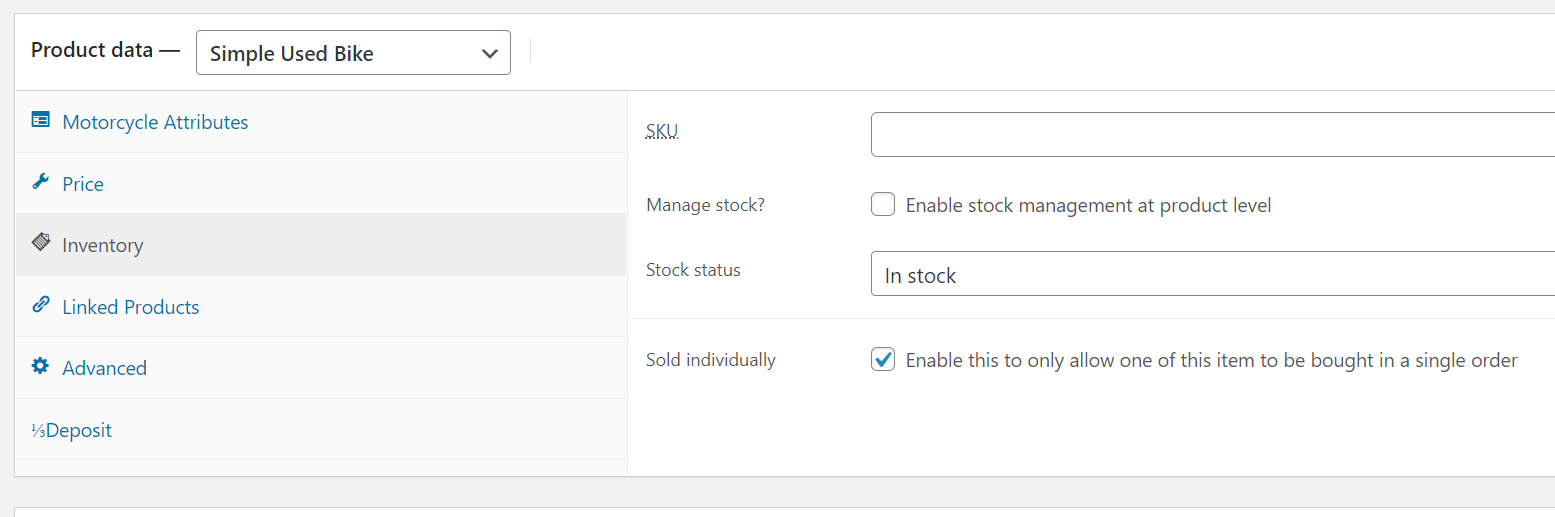 Make sure that you tick the 'Sold Individually' checkbox so customers can't place more than one deposit on the same bike.
If you are using the B2See Application for images
Untill the full integration is completed where the system will automatically pull your vehicles images down, you need to download the images from B2see and then upload them again the respective models in your website.
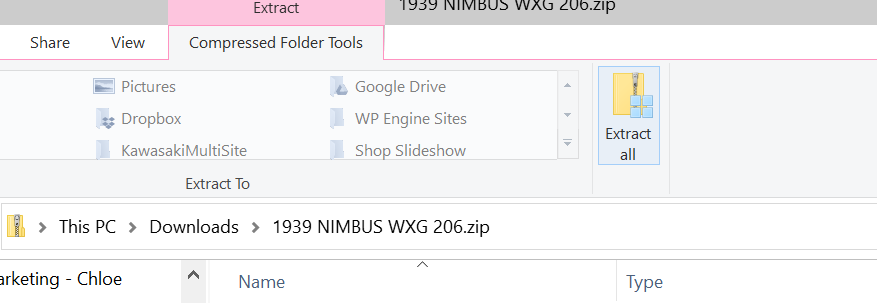
To do this login to your B2See system and download a zip file of the images. When this downloads, you need to Un-Zip it, usually done by double clicking the folder and clicking the 'extract all' button like so;
When you have done this, save the images to a folder on your machine, in this case i've saved them to my downloads.
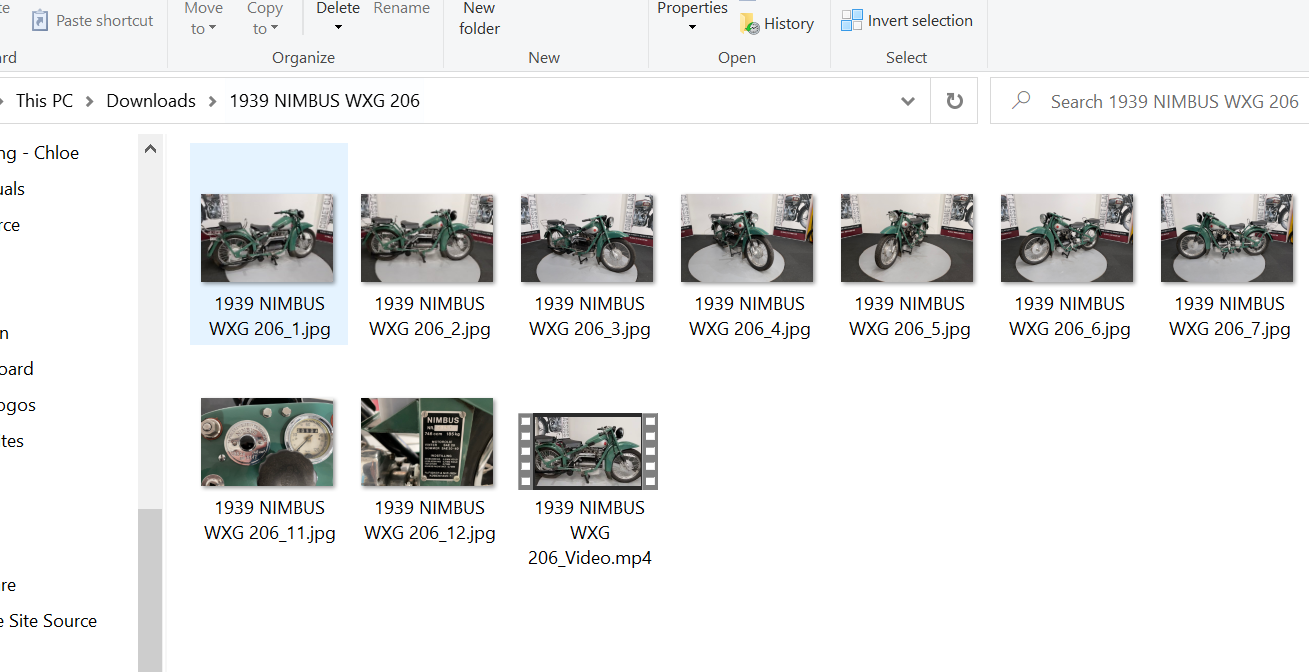
In you used vehicle loading too then you simple need to go to the correct model. Add images to the gallery and upload this entire folder (excluding the video, the site supports video URLs not full video files). You should be able to get an embedded video link from your B2see system.
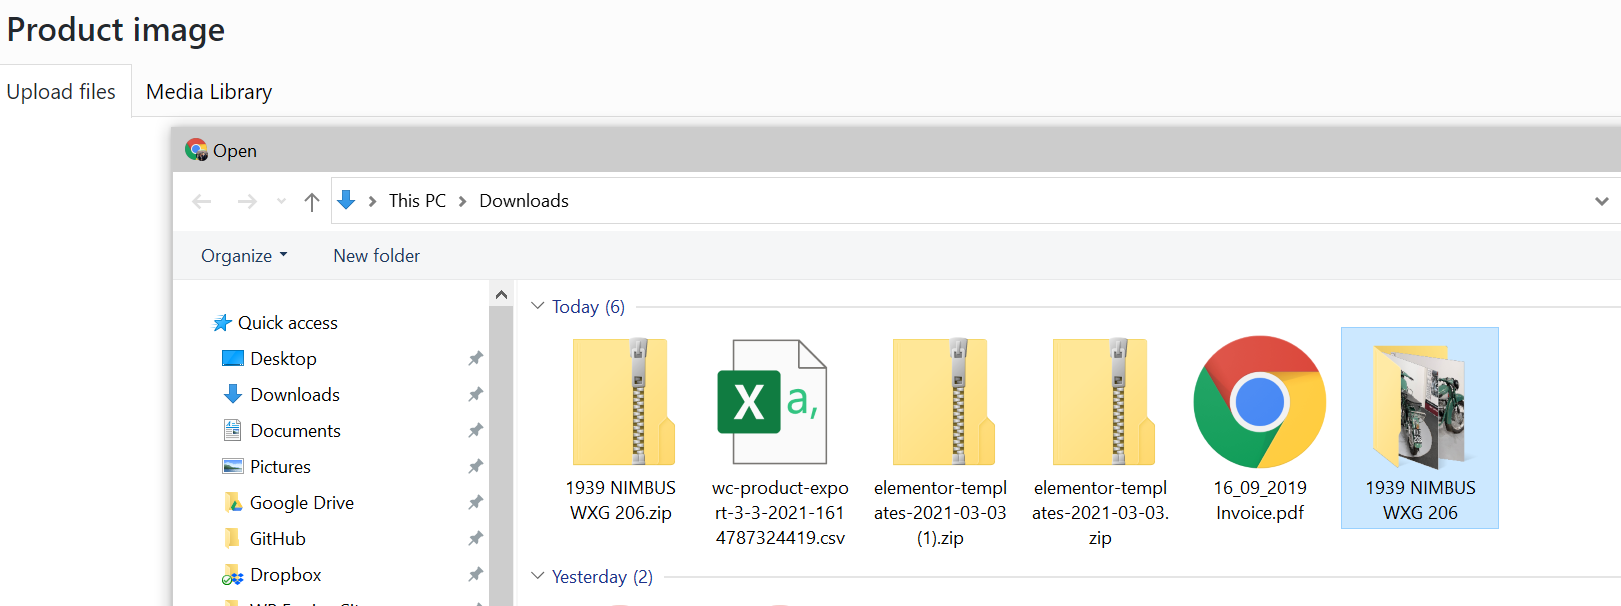
When uploading the images select the extracted folder from the 'Upload files' tab
And then select only the images from the folder
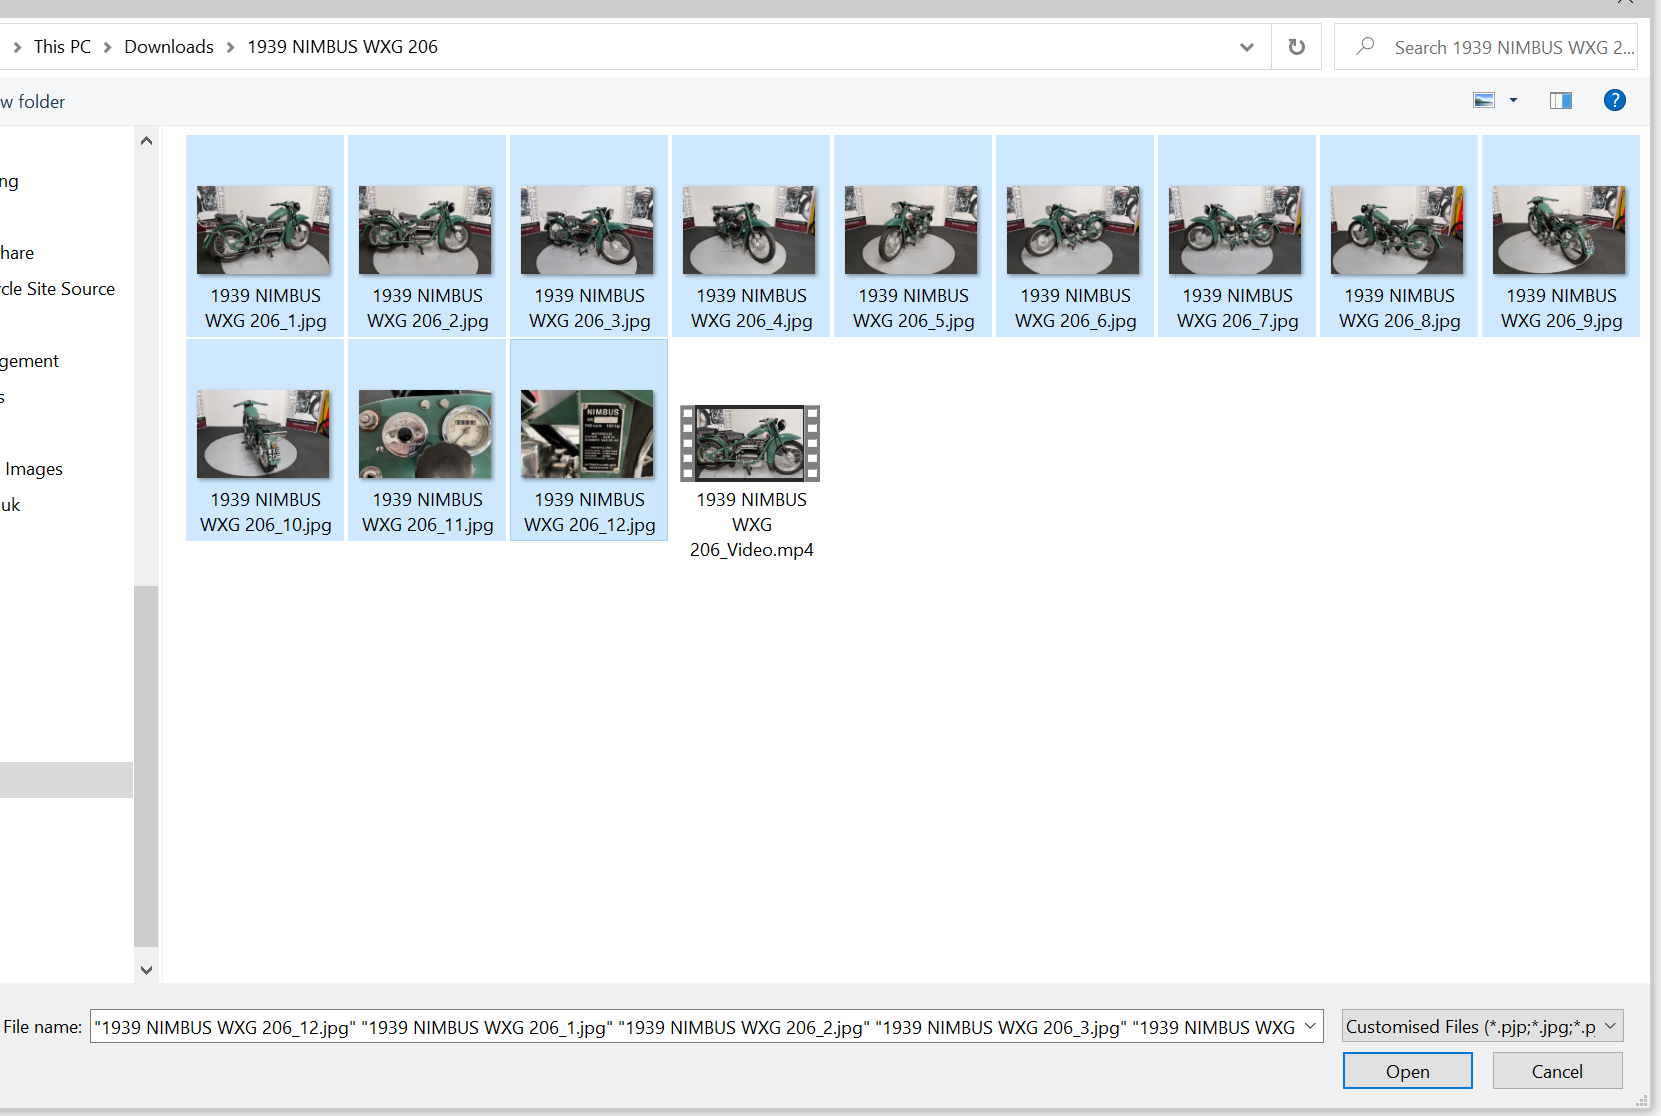
And then assign these images to the 'main image' and 'gallery images' section
If you need any further assistance please contact support@medialinksonline.com