If your Wordpress site is running WooCommerce and the MLO New / Used model plugin to sync new model data from your manufacturer you can manually assign products to show against each model. This is useful if you have certain accessories you are trying to push.
The Shortcode
We have implemented the following WooCommerce shortcode on your new bikes detail page which looks for products in your store that have been 'tagged' with the matching model name.
[products limit="8" columns="4" orderby="date" tag="<?= get_the_title() ;?>"]
What this shortcode does is shows 8 products, ordered by latest published date with the tag of whatever model you are currently viewing. E.g. if you are looking at a Suzuki V-Strom 1050 XT, it will look for products that have been tagged with this model name. Any variation of the model name will not work, it needs to be the same.
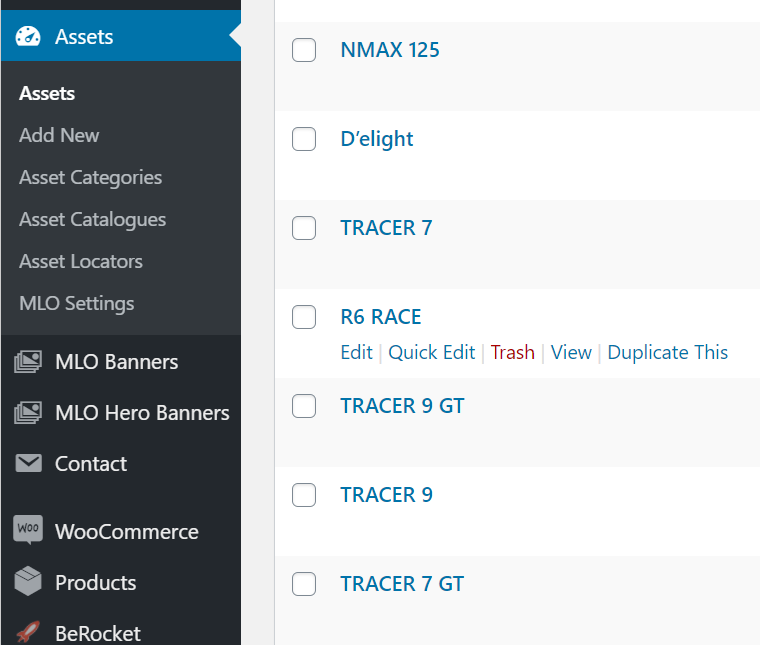
Finding the correct model name
To find the correct model name, you simply need to find the assets menu in the WordPress dashboard and lookup your desired model. Whatever name shows here is the name you need to add as a tag against your products.
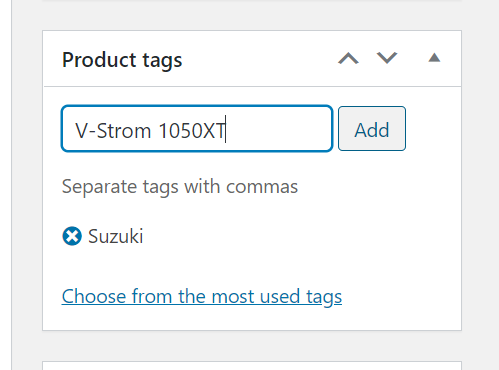
How to tag your products
Find the product in your WooCommerce store and down the right hand side of the page you'll see a section for tags. All you need to do is add a tag which is exactly the same as the model name shown in the new bike area on your site. Like so;
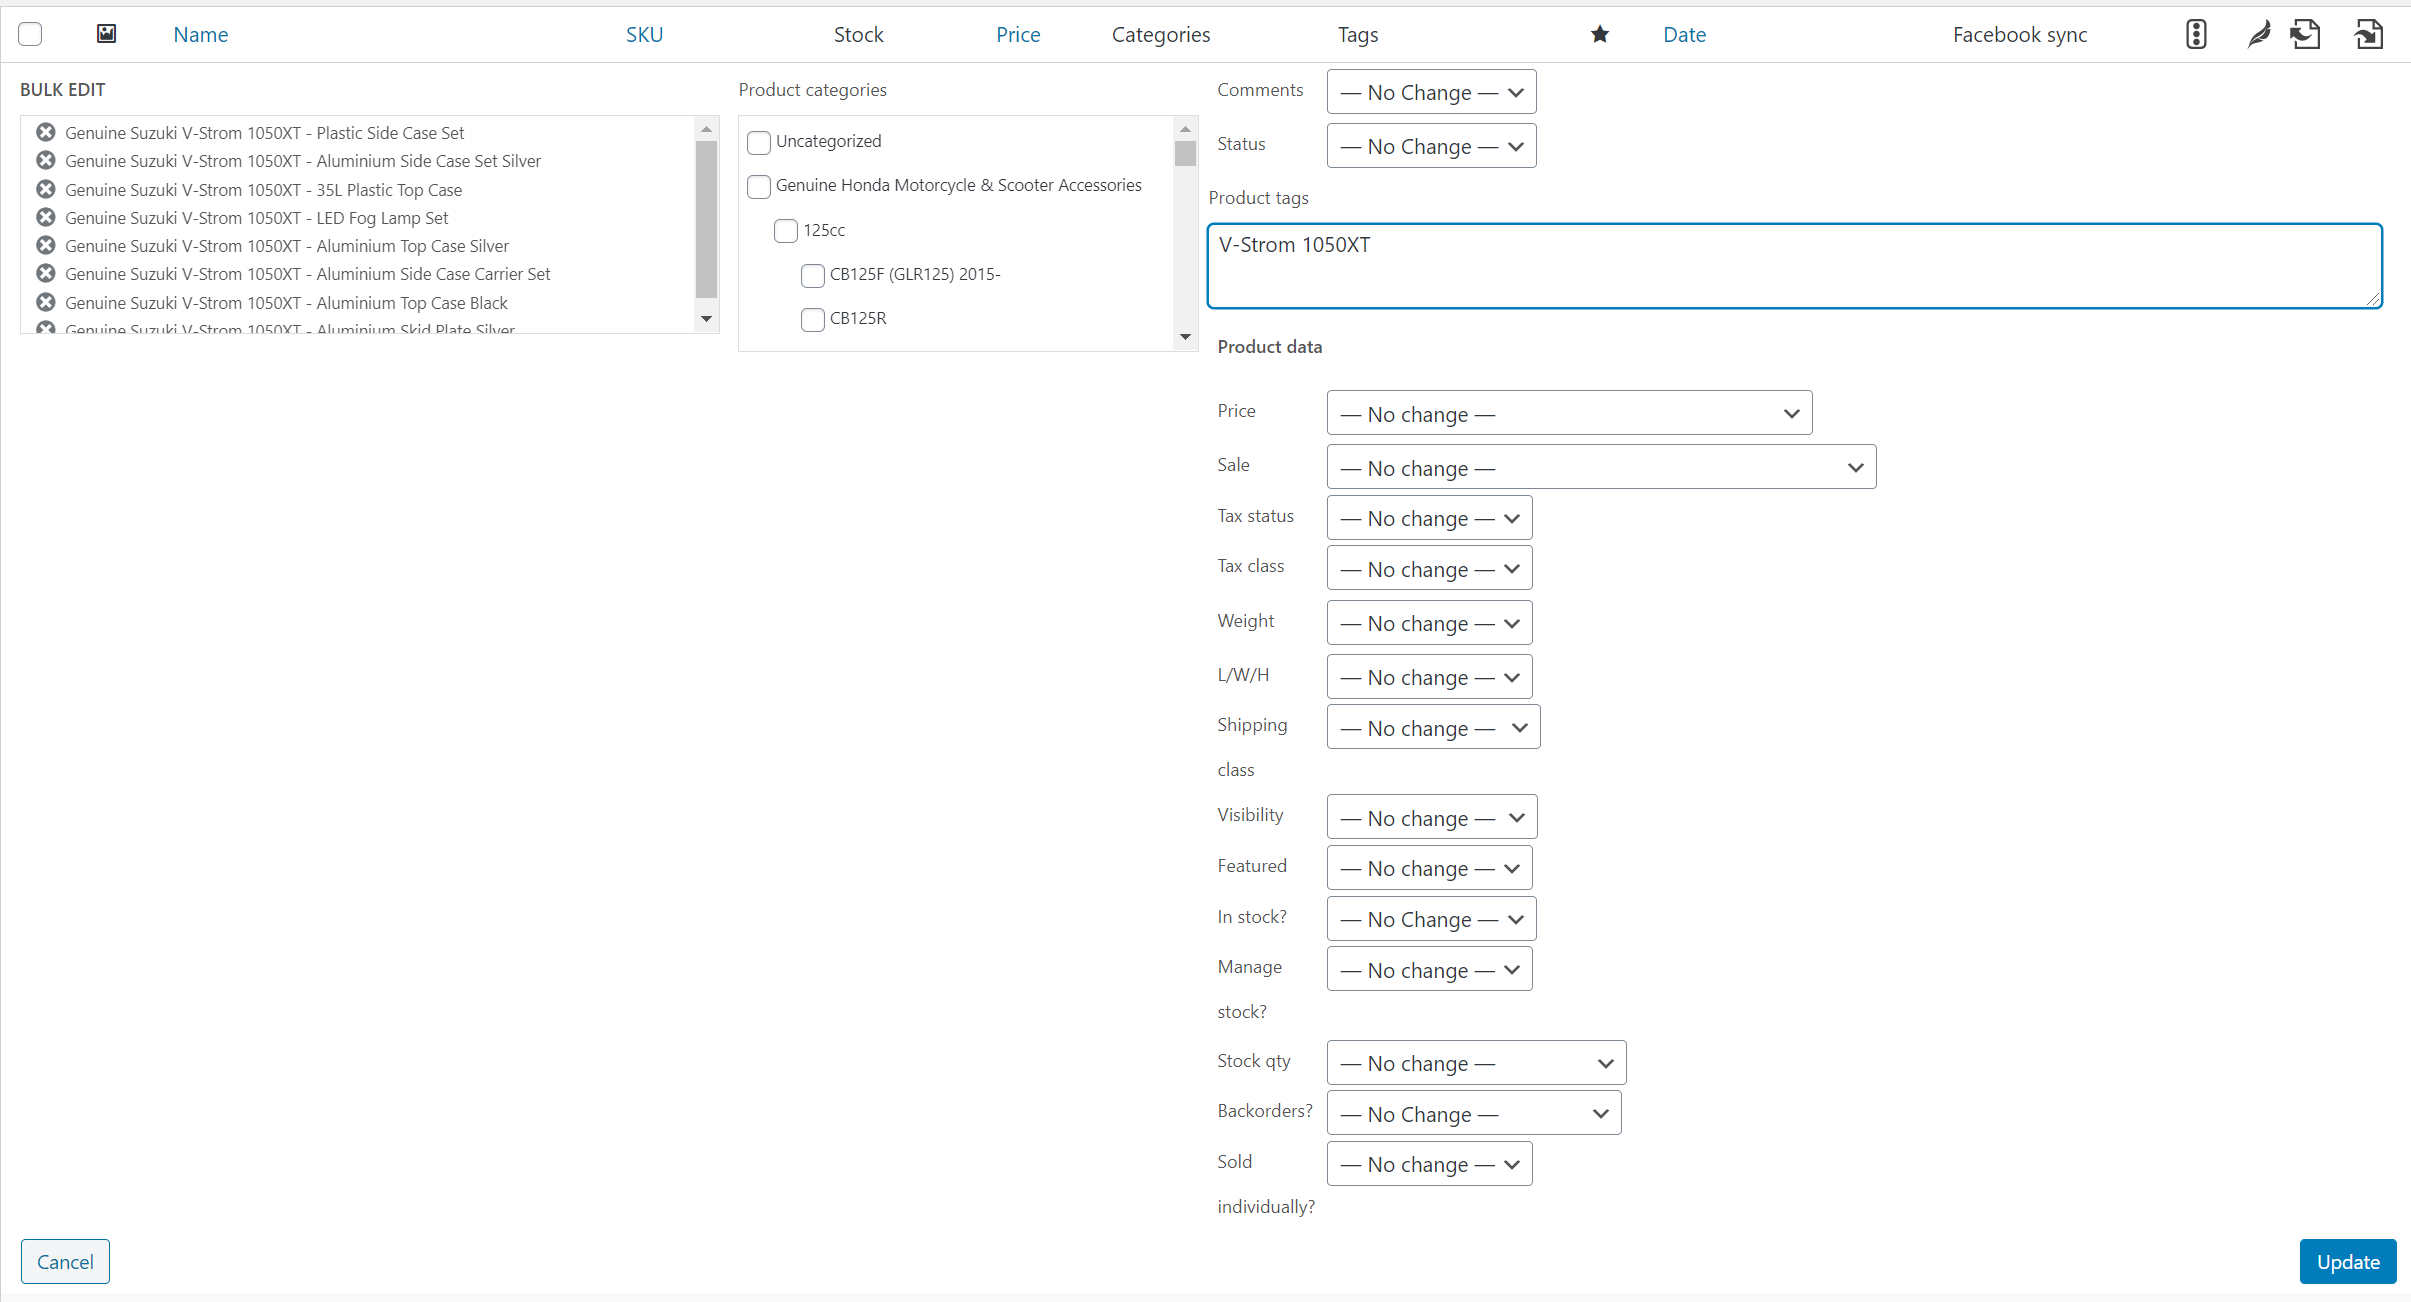
Adding tags in bulk
You can quickly add tags against multiple products at once by going to your product list in the WordPress backend and selecting multiple products. Once you have them selected, click edit at the top of the page and you should see this screen.
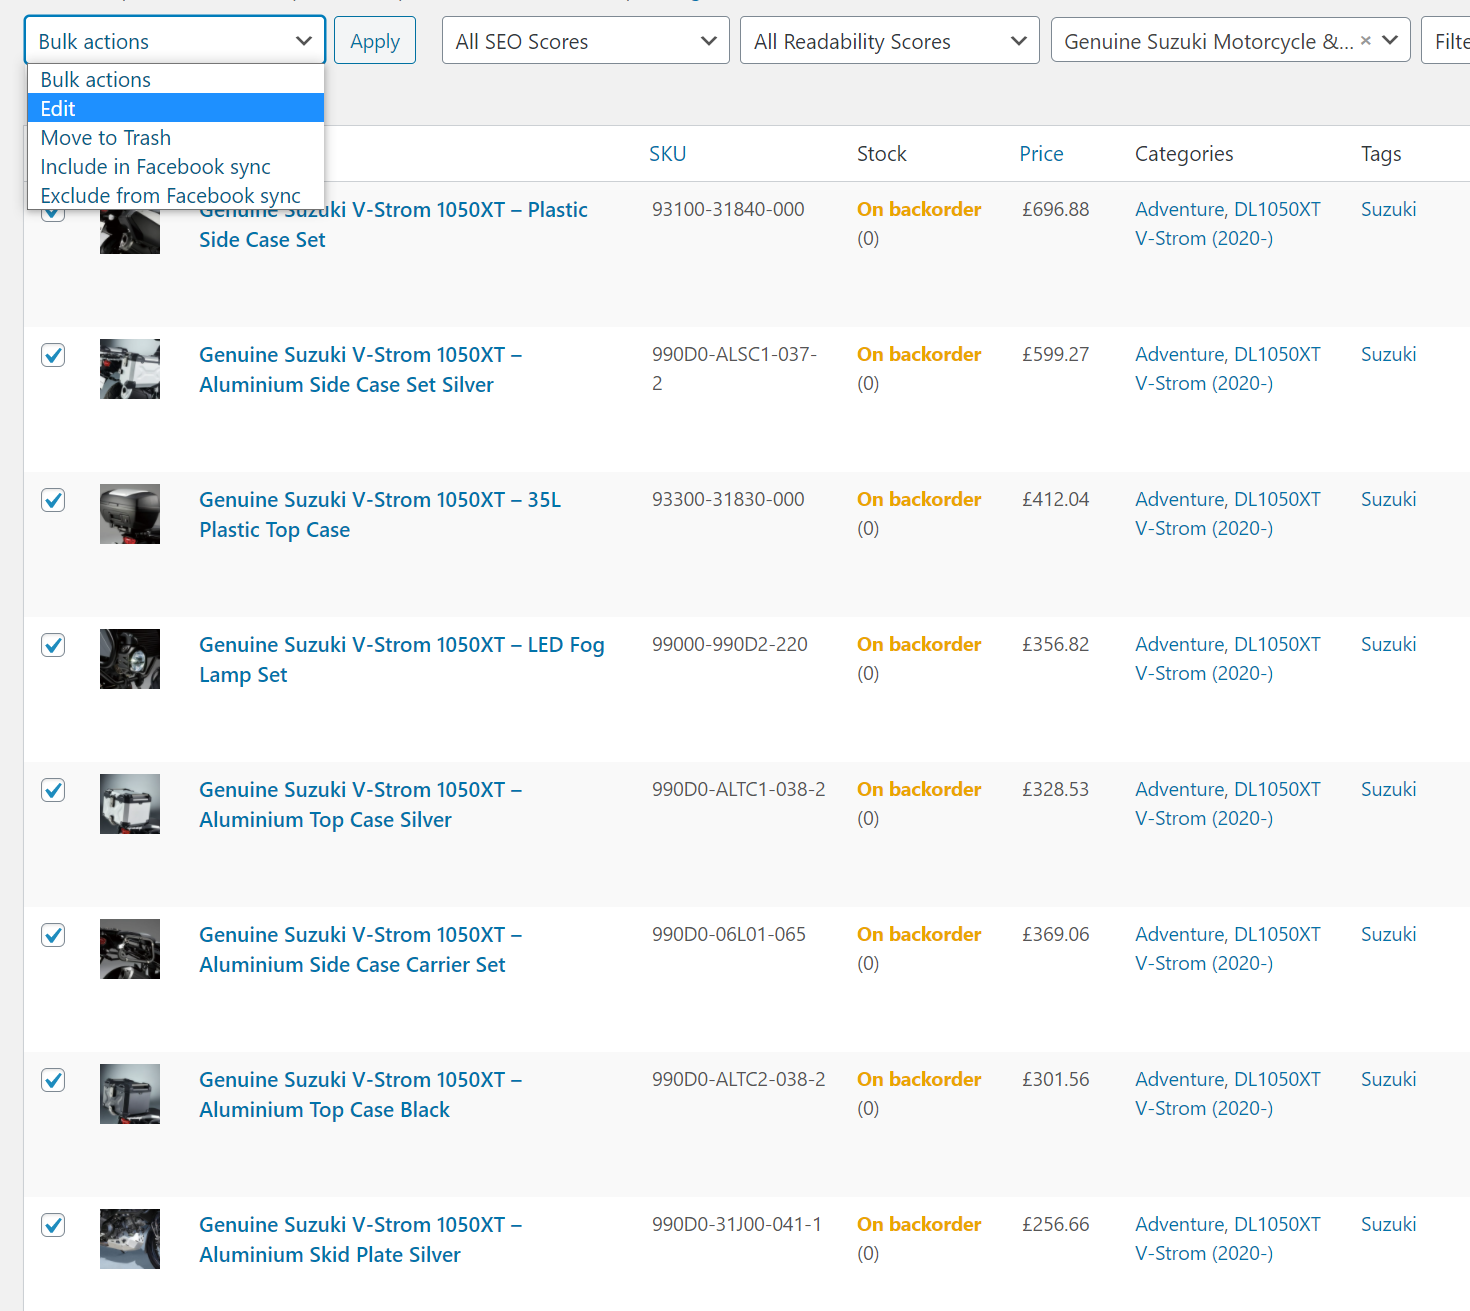
Once you click Edit you'll see this screen and you simply need to add the desired model name in the tag text box like so then click update (this might take a small while to update depending on how many products you bulk select)
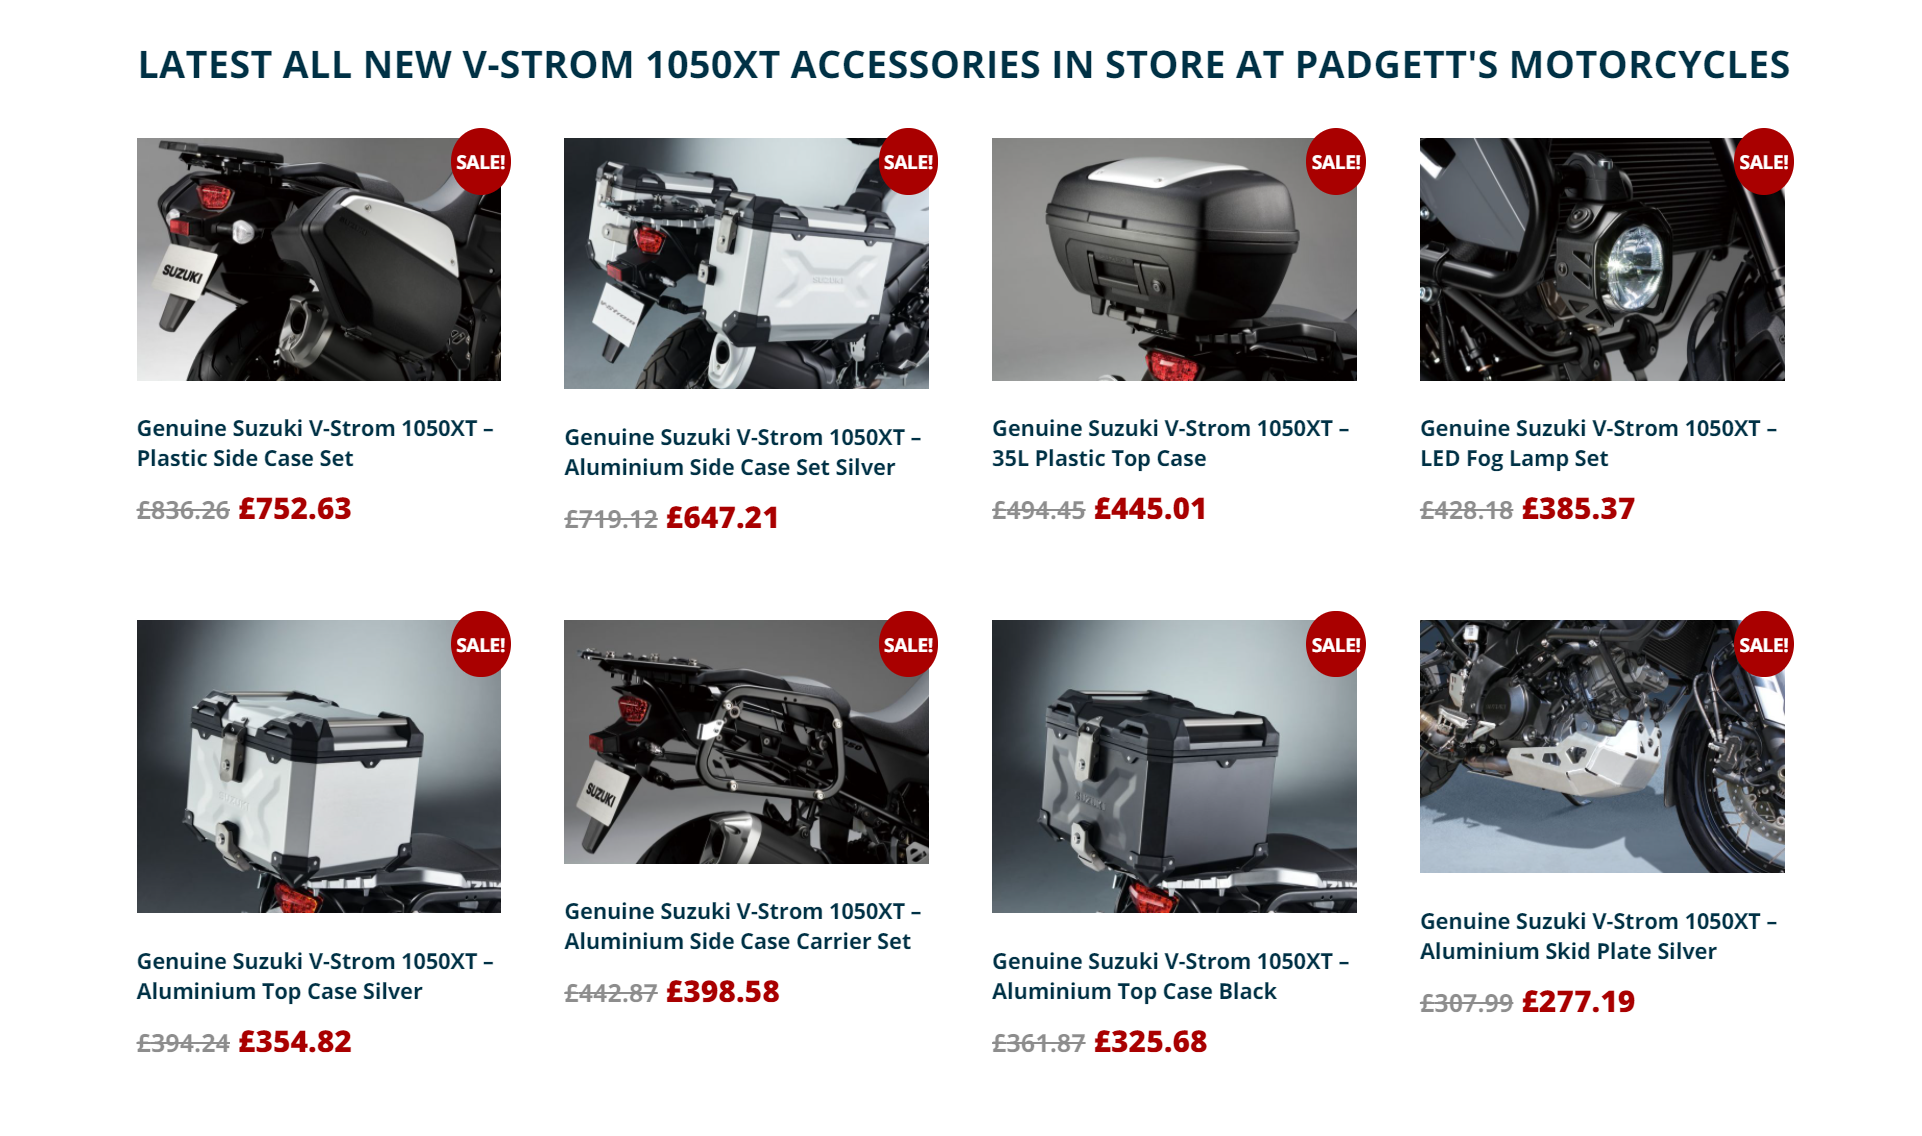
What it looks like on the site
This should result in something like this on your site then on the new model pages.