![]()
CMS User Guide
Content Management System User Guide
Version 1.0 - 2020 Release
Prepared by: Charlee Baxter
Release Date : 05/10/20
_______________________________________________________________
Confidentiality statement
All information in this document is provided in confidence for the sole purpose of adjudication of the document and shall not be used for any other purpose and shall not be published or disclosed wholly or in part to any other party without Media Links On-line’s prior permission in writing and shall be held in safe custody.
These obligations shall not apply to information that is already in the public domain.
Proposal is not capable of acceptance.
Copyright
© Media Links On-line Ltd 2020
Registered office: Innovation Centre,1 Devon Way, Longbridge Technology Park, Birmingham, B31 2TS
Media Links On-Line Ltd
Innovation Centre
1 Devon Way
Longbridge Technology Park
Birmingham
B31 2TS
Contact
Mark Hodgetts
Email: mark.hodgetts@medialinksonline.com
Telephone: 0845 094 2845
Trademarks
Many of the product, service and company names referred to in this document are trademarks or registered trademarks. They are all hereby acknowledged.
_______________________________________________________________
Content management system (CMS)
Managing your website in the Media Links CMS system
The following guide is a work in progress and will be updated and a new version released on a regular basis.
Currently the guide covers the basic action of updating a content item. This may be the information on the home page or a news story.
_______________________________________________________________
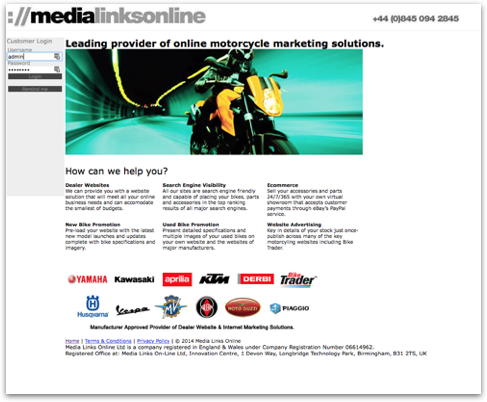
Login to the system
In your web browser go to the following web address:
http://home.medialinksonline.com/
On the left hand side of the page you can enter your username and password to log in:
If you cannot locate your username or password then please contact us at support@medialinksonline.com
_______________________________________________________________
Interface - new for 2020
Once logged in you will be presented with the screen below:
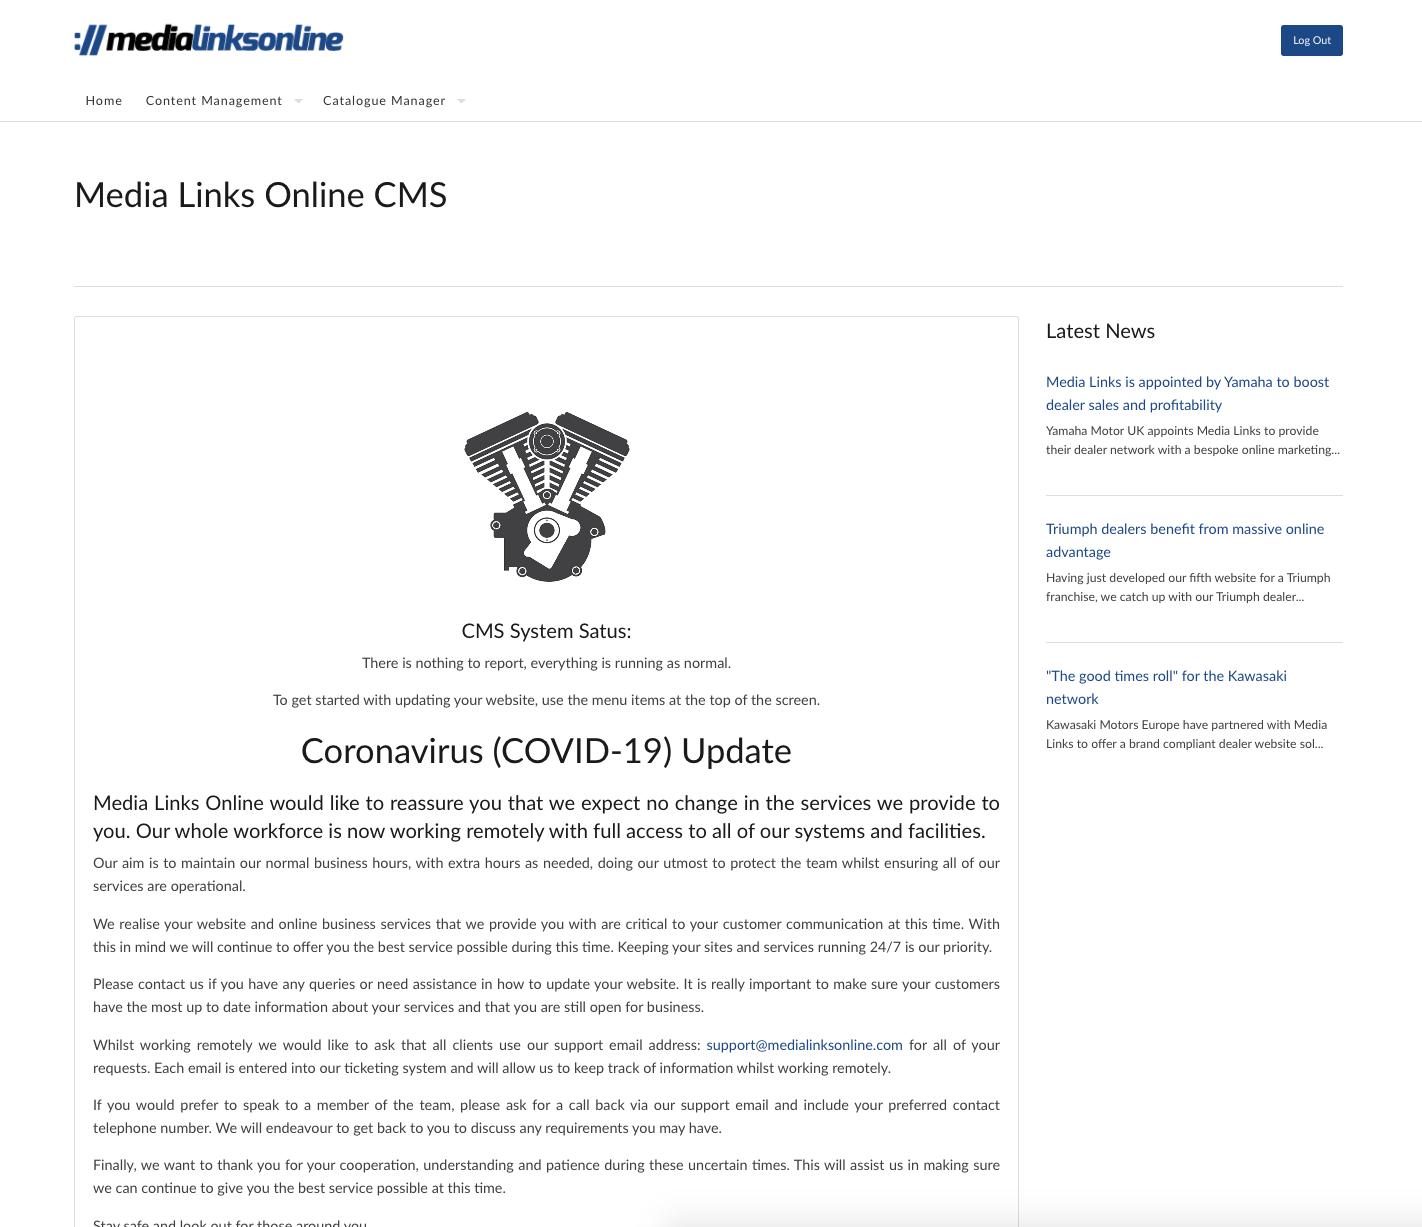
The number of options at the top of the screen will depend on your site and your access privileges. They are clearly marked and denote type of information that you will be updating
Home
Return to the home screen you see when logging into the system
Content Management
This is the area where you will be updating your content for the website. You will see a number of options appear when you hover over the menu.
New Content Manager - This give you access to the new content management interface
Old Content Manager - This gives you access to the older management interface
Advanced Content Manager
Forms - Allows you to check incoming enquiries from the system
Central Marketing - This is only visible if you have content that you are sharing with a network.
Newsletters
The area of the site where you can send newsletters to your subscriber base.
Catalogue Manager
The area of the system where you can manage you stock either used, new or shop.
_______________________________________________________________
Content Management
There are two sections for managing content. New and Old Content Manager. The rule is that the old system is only used if your site is not a responsive or mobile friendly website. The New Content Manager is used for responsive sites only.
The best way to test if you are unsure is to re-size your browser window and check if the website changes shape and first into your screen. If it does then you have a responsive website and should use the New Content Manager and if not, the use the Old Content Manager.
In both cases the method for selecting an item of content is the same. Upon clicking either of the links you will be presented with a screen like below:
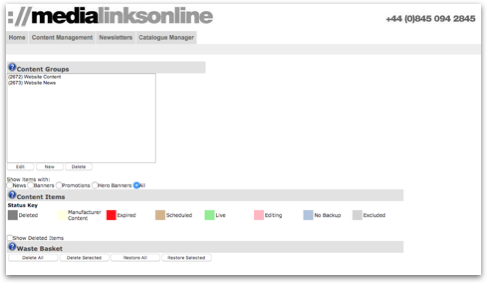
This screen is the main interface screen for managing your content groups and content items. Content groups are set up during the build of your website and will be clearly labelled as you can see in the example above.
The website content section is where you will and the page content items for your website. The website news group is where you will find your news items of content.
Note, if you are a manufacturer or have 'central marketing' permissions in which you share items with the network, the content management will be to update YOUR website only, not the network (i/e - dealers websites). If you need assistance in updating a network of sites, please view 'central marketing' further down.
_______________________________________________________________
Content Groups
When you click on a group you will see these items appear on the page below. Each item of content is clearly named to give you an idea of what the item contains and which part of the site it represents.
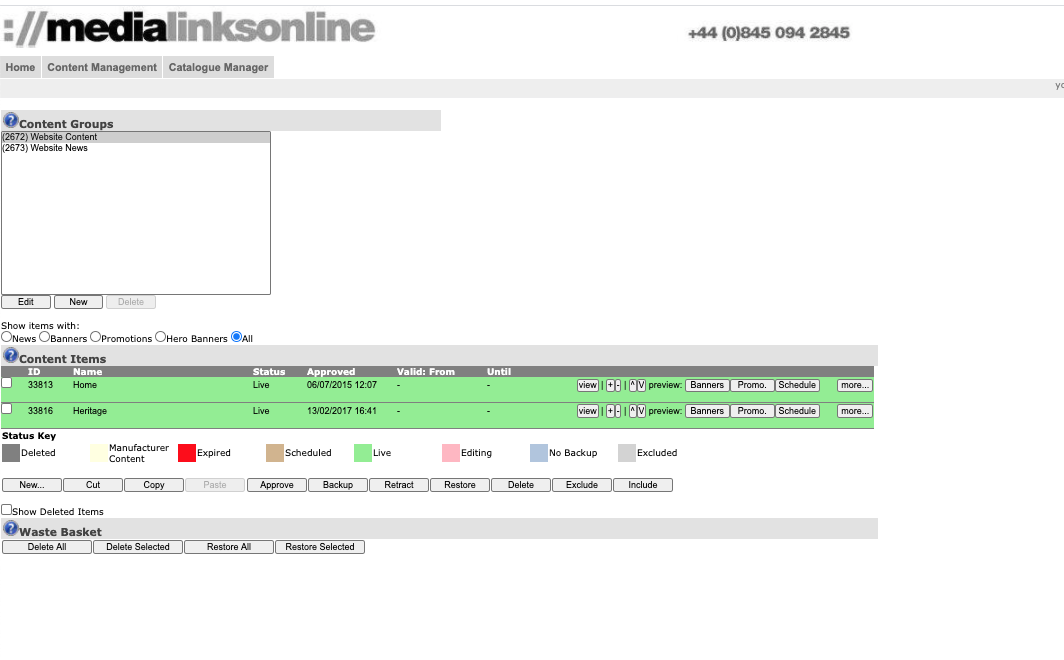
Each content item is colour coded and you can use the key below to see which items are backed up, live and editing amongst others.
_______________________________________________________________
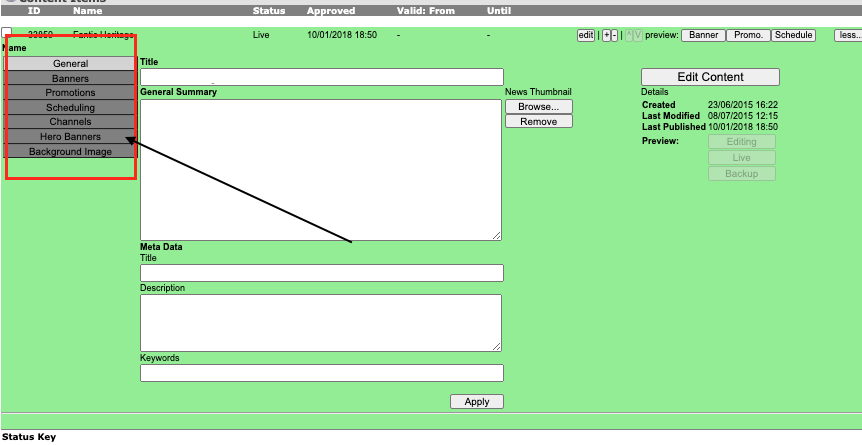
Editing the Content Summary
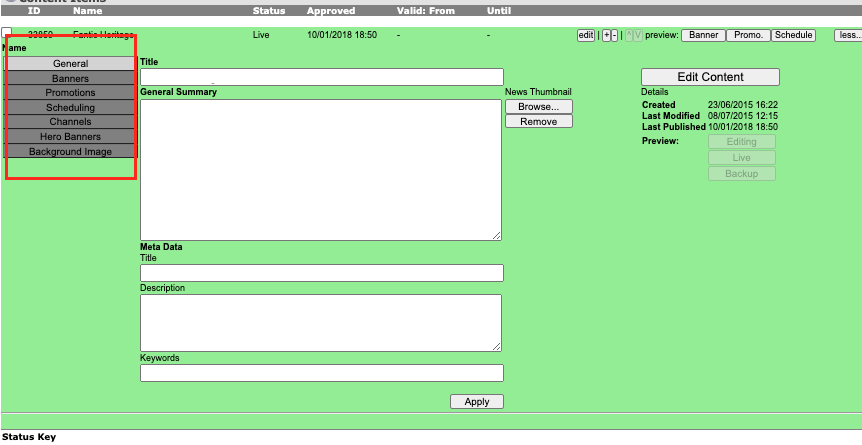
Click on the ‘more’ button to left of the content item you wish to edit. The content item will expand to show the following information:
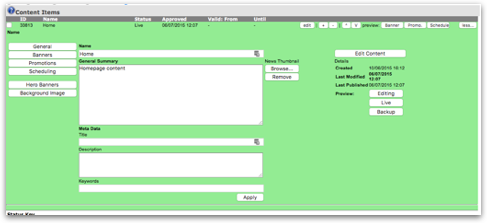
On this page you can edit the Name, Summary and add meta data that will be shown on the page and used by Google when indexing your content.
If it is a news story you can add your thumbnail image for the item. This is the image that users will see on the listing page within the site.
Once you have made updates to this content then click on the ‘Apply’ button to save the changes.
_______________________________________________________________
Updating Content
To edit the content of the item and and the website. Click on the Edit Content button to the right of the panel.
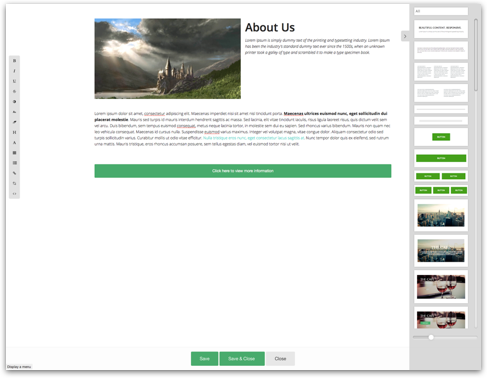
You will be presented with the page below:
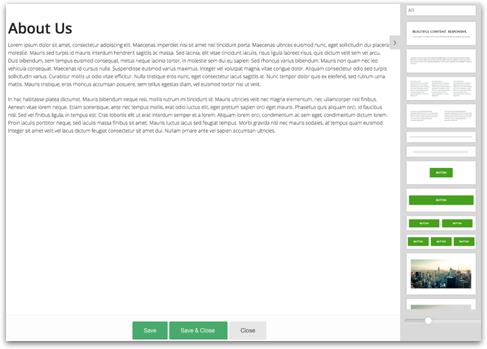
This is our CMS content editor. Here you are able to make rich online content for your website quickly and easily. By simply clicking on a snippet and dragging it from the right hand tool bar towards the left hand side of the page, you can quickly build a page of content.
By using the various snippets on the right of the site you can easily build your web page with out using any code at all. We have snippets that are useful for all types of content, text, image, buttons, google maps and YouTube videos.
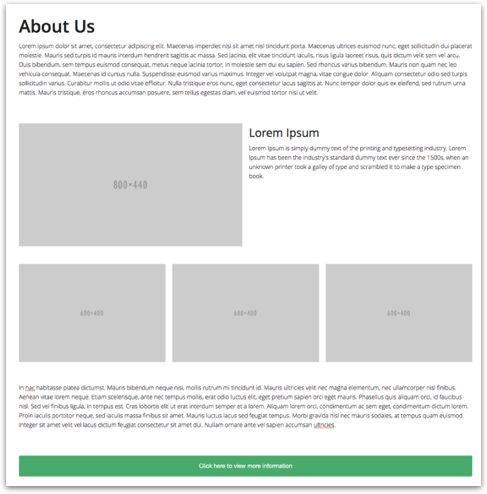
Below is an example that has been laid out using various snippets. The next stage will be to update the page with more personalised content and images.
_______________________________________________________________
Updating the text
The type control tool bar is viewable when you click inside a text box. Many of the icons you see will be recognisable from word or any number of applications you have perhaps used before.
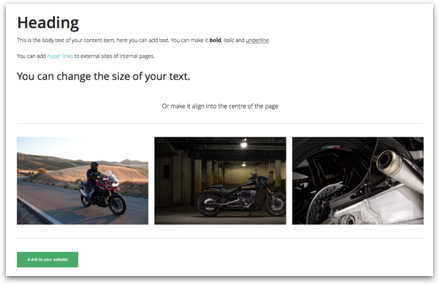
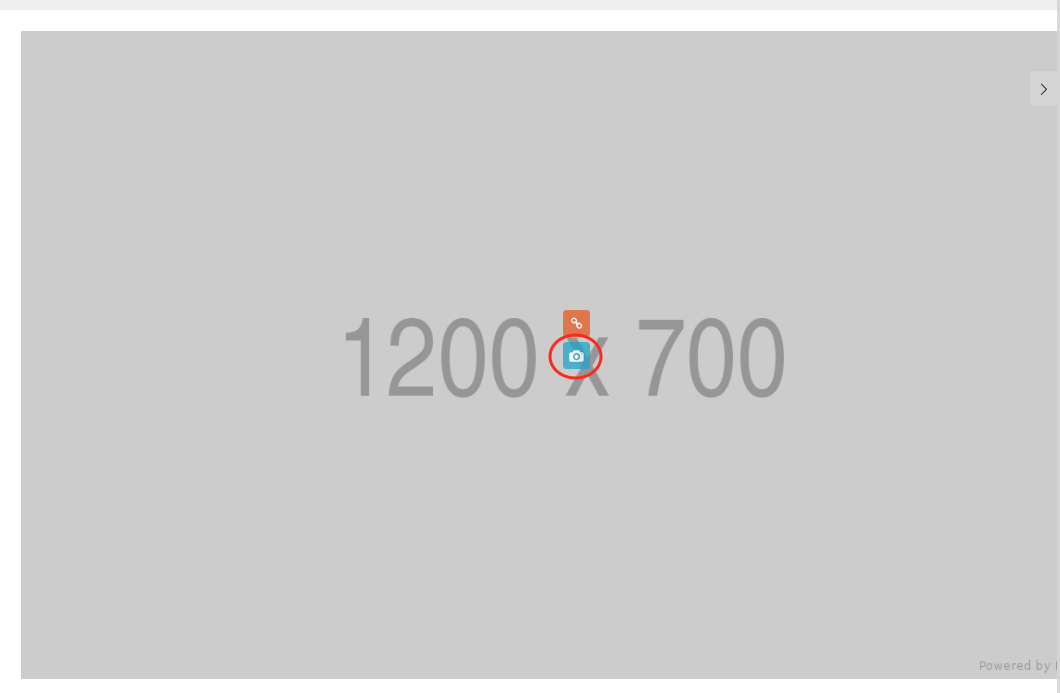
Image Upload
You can add an image by simply clicking on the blue camera icon that appears when hovering over an image placeholder. The placeholder gives you some indication of the minimum size which can be used.
Once you click on the icon a dialogue box opens which allows you to select an image from a location on your computer. Once you have selected an image you wish to use simply click on the Choose button in the dialogue box. This will then upload the image in to the placeholder.
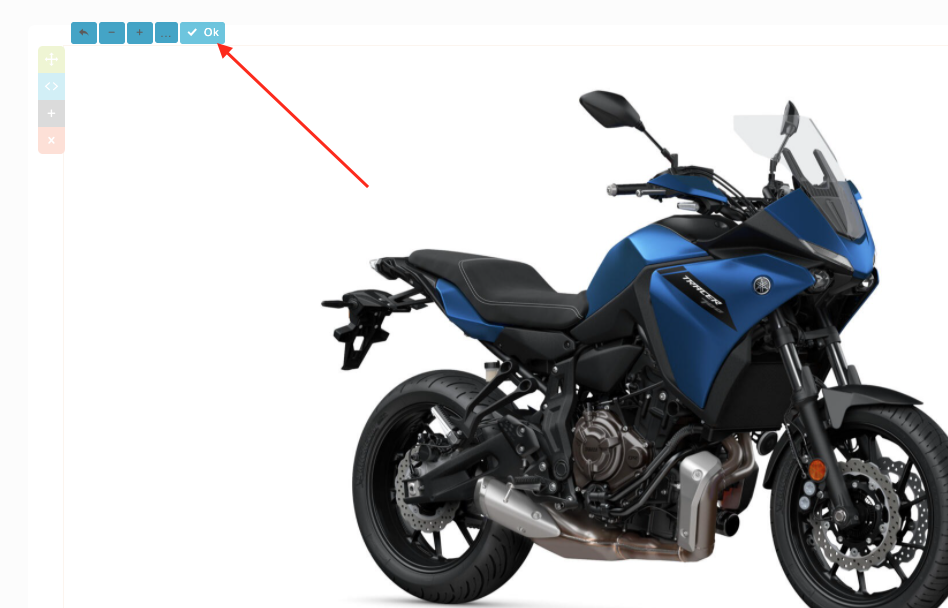
You can then use the + and - icons to zoom into the image and place the image in the correct place. The OK button will then save the image.
The far left icon cancels the process.
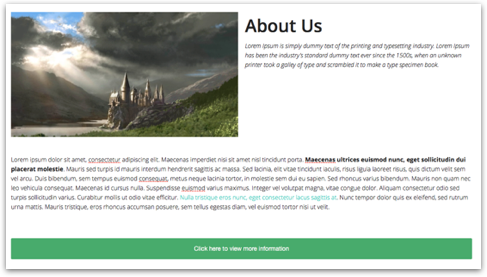
Once the content is personalised you may wish to change the layout slightly based on the amount of information that you wish to give. Or just personal preference.
When you select a row or snippet you will see that four icons appear on the left hand side of the area.


By using the above methods you should be able to manipulate your content items with ease. There are many more advanced features in the snippets area and if you would like further training or help with a particular snippet then please contact us at support@medialinksonline.com
_______________________________________________________________
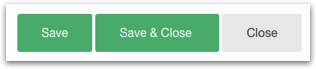
Saving Your Content Changes
If you are still in the process of editing then it is wise to use the Save button often. This will save your changes to the database but will not return you to the previous content item listing page.
The Save & Close button will save your content and then automatically return you to the content item listing page.
The Cancel button will discard your changes since the last save and return you to the content item listing page.
_______________________________________________________________
Utilising the other options within a content item
There are several options available when creating a new content item. As you can see in 'editing content summary' each item has several tabs to populate depending on what you need to get out of each item. The 'editing content summary' details how you use the GENERAL tab. If you would like help on this, please review the above instructions.
We recommend using the General (for building content items such as news), Scheduling (to set dates for when items are live/removed) and Hero Banners (the scrolling banners on your website) tabs. The other options require certain set ups on your websites, which may need developing to work. If you wish to discuss how these options could work for you, contact support@medialinksonline.com
_______________________________________________________________
Scheduling items
If you would like to prepare a news item for a specific day or set a date for a current item to remove itself, you can do so within this tab.
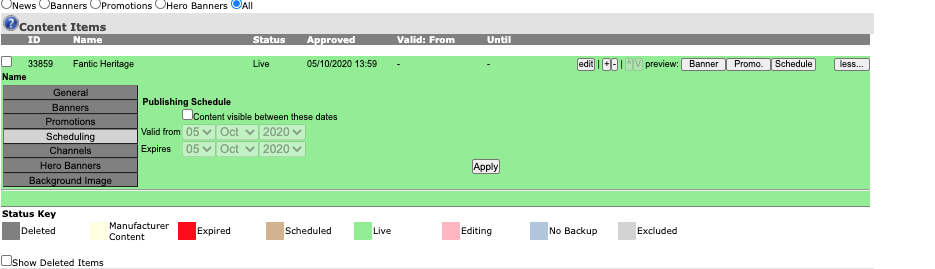
You need to select 'content visible between these dates' which will unlock the valid from and expire date selectors.
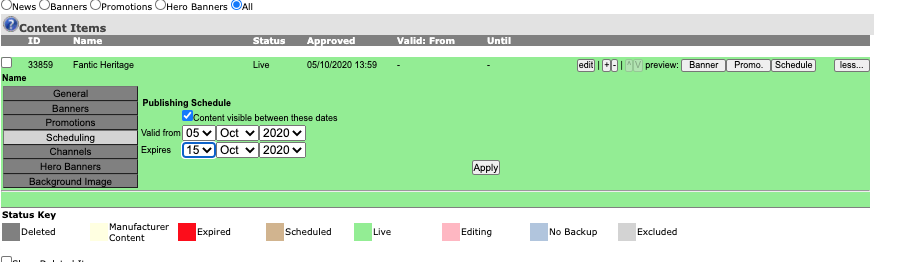
You are then able to input your dates.
_______________________________________________________________
Adding Hero Banners (Scrolling banners on your homepage)
Hero banners are the scrolling banners on your website, they could like to a promotion, news item or a bike.
If you would like to add a HERO BANNER to your website, or update an existing one, you need to follow the below steps.
Within the content item you want the hero banner added to, on the left hand side you will see a variety of options which include HERO BANNER as shown below, you need to select this option.
Once you have opened the hero banner editing area, you will see a Hero Banner Title, Summary, Image, Call to Action and a link - as shown below.
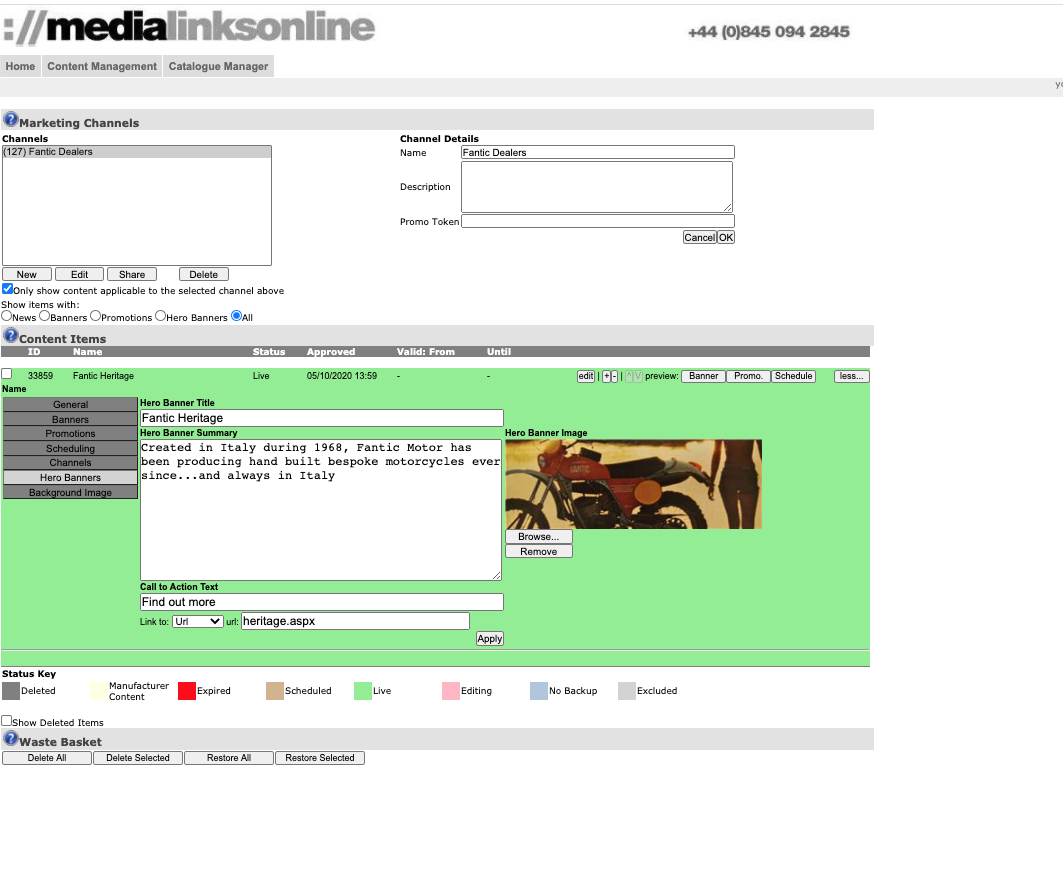
Each step MUST be filled in. The Title, Summary, Image and Call to Action will show on your website, so make sure the content is correct.
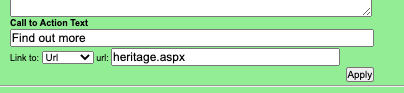
The 'LINK TO' button has a variety of options. If you want the item to;
1. Link to a page, you must change the drop down to URL and add in the URL of that page, starting from the first / after the domain name (e.g - /new-bikes/specific-bike-name/colour-one (do not include your www.yourdomainname.com) in front, particularly if your item is to be distributed across a network.
2. Link to self, this means that the hero banner is relevant to the content you have created within this item (typically, this means you have created content within the general tab and the hero banner is being used to advertise that on the homepage)
For example, you create a news item to discuss extended warranty and wish to create a hero banner to advertise that on the homepage. Once you have created your news item in the general tab as detailed above, you can then add a hero banner which represents the content. This will 'link to self'
_______________________________________________________________
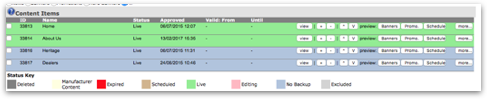
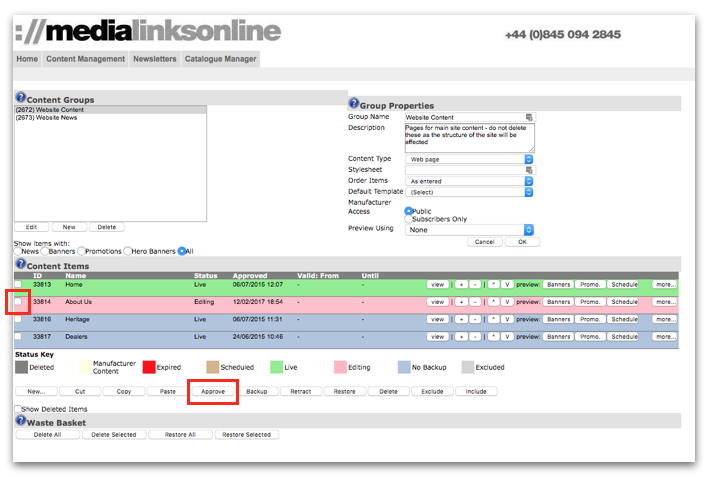
Content Approval
As you can see on the example image below the item in Pink is labelled as editing. This means that the content item has changed but is not live yet. This means you can update some content on the site and if you run out of time or are unsure of some information you can come back later to complete the change.
To complete the change all you need to do is elect the content item which has been edited on the left hand side using the check box and then click approve underneath the content items.
Once you refresh the page you will then see your content item has been updated and made live.