Adding the shortcode
Once you have imported your shop products into Woo Commerce, as per the required format, you will see in the product category area that there is a top level category of 'Fitment'.
You will either have the following categories in your structure depending on whether you have a demo file or a manufacturer file.
Wherever you want the fitment finder to be displayed on the site simply enter the following shortcodes depending on your file.
For example the below shortcode will use the category structure below 'motorcycle-parts' to populate the select boxes:
Important: If you are using your own categories please make sure that the top level category name has no spaces, please use hyphens instead.
[mlo-wc-fitment brand=motorcycle-parts]
Or if you are using a manufacturer file from MediaLinksOnline, you may need these shortcodes which target the specific model category list for that brand. This enables you to locate the specific brand required for that instance of the spare parts finder:
[mlo-wc-fitment brand="husqvarna"]
[mlo-wc-fitment brand="ktm"]
[mlo-wc-fitment brand="gasgas"]
This should give you something on your site that looks like the below example. Showing three selection boxes with the 3 categories listed below the category you have added to the shortcode:

Depending on the styling of your site you might need some custom CSS to get the desired look to apply padding to the select boxes like this. Your developer should be able to help out with this.

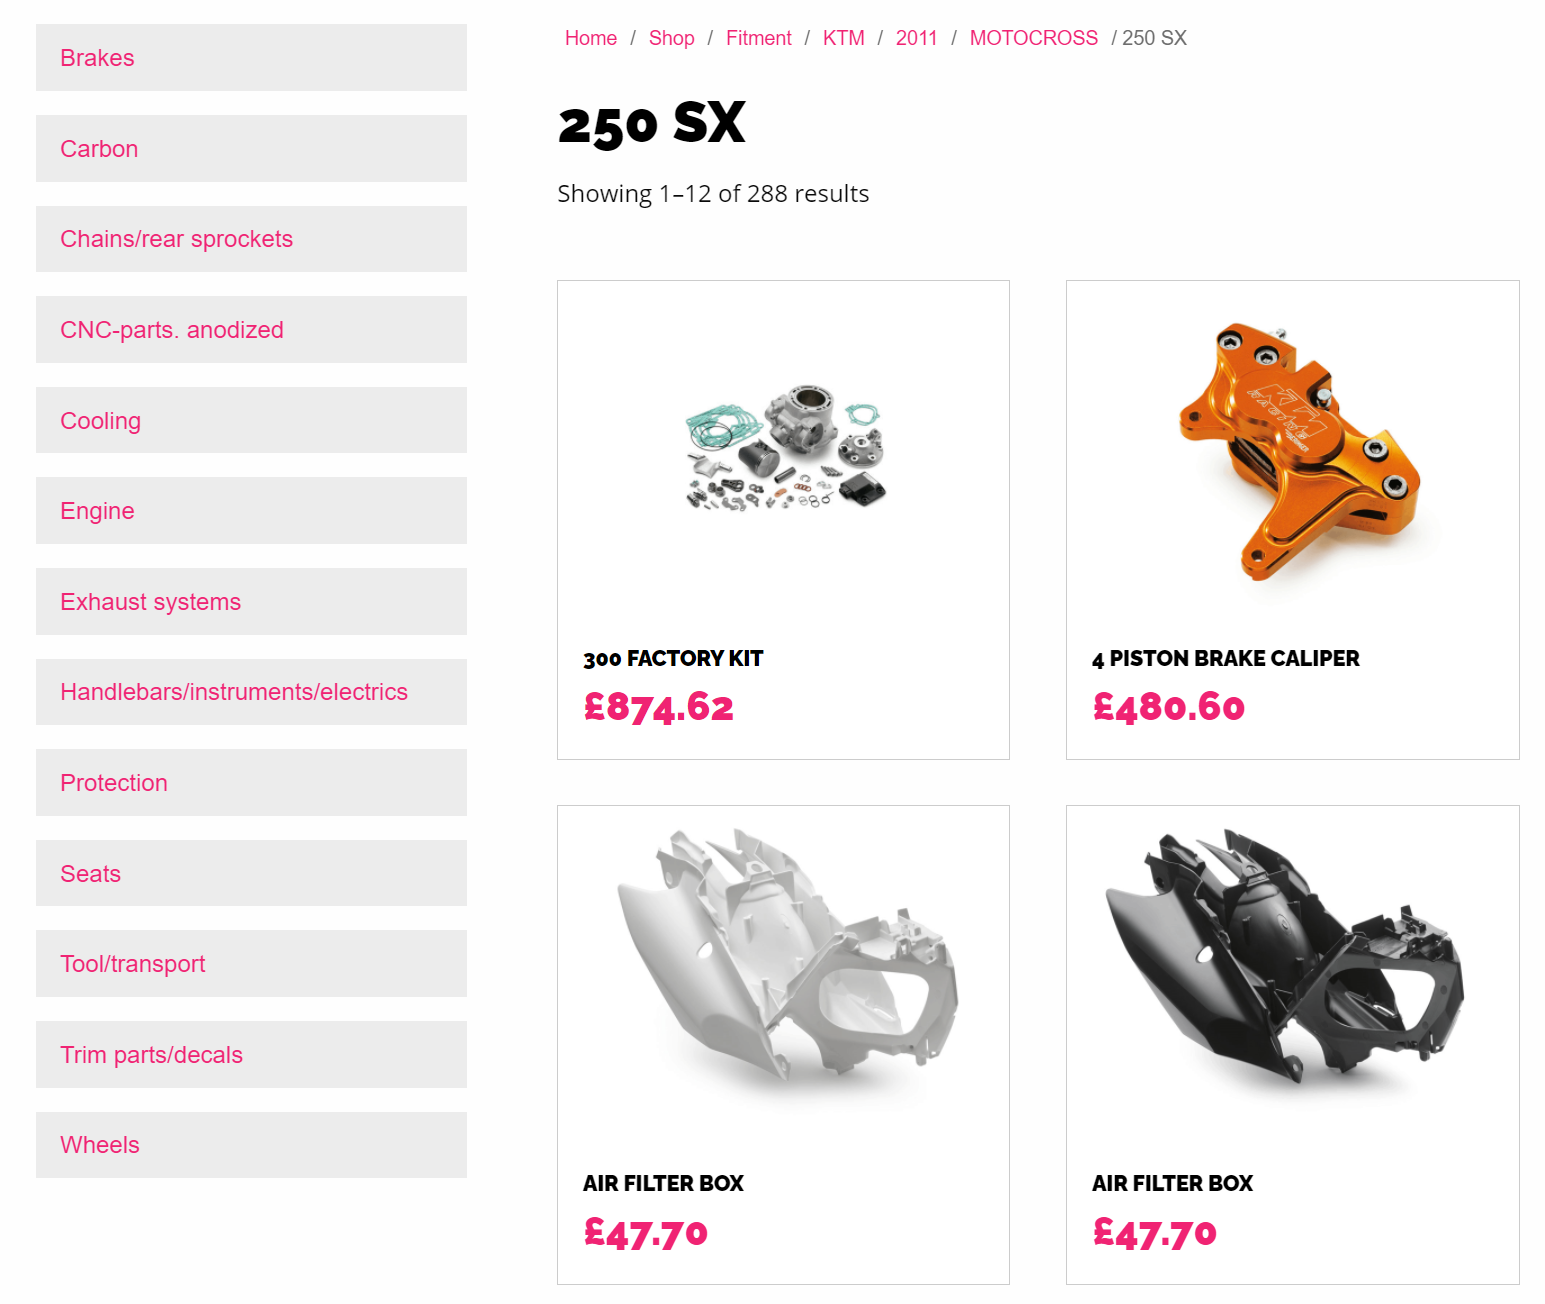
When you have made a selection form the select boxes and click on search. Yo will then be presented with the WooCommerce archives page and it'll pre-select the fitment category which now lives in your store.
You can then customise, style and update the page as needed.
Changing the WooCommerce Categories sidebar after using the filters
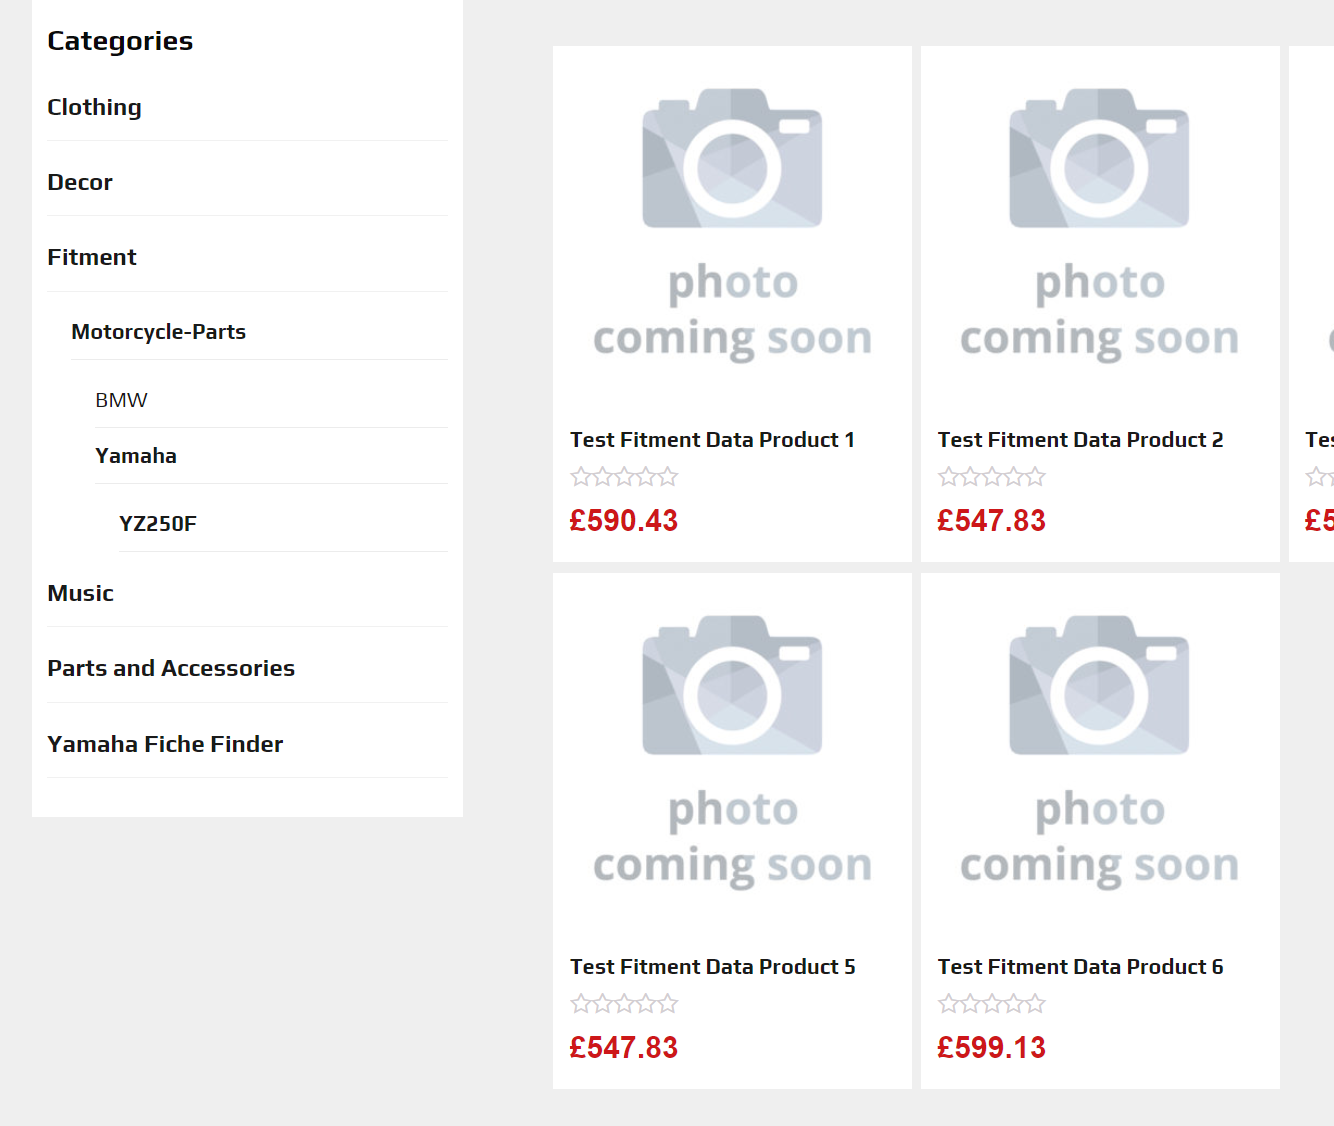
There is a further facility that enables you to update the UX of the page and show the user a shop menu that is specific to the selected model. It will not just simply expand the menu to the selected model as the example above, but will show you a view of all of the parts for that particular model.
EG. Motorcycle Parts > Yamaha > YZ250F > 2020
The below menu option shows all of the parts for that particular model, but uses the primary category for each part to build the menu. Making it much more user friendly and allowing you to link into direct product pages for each model's parts.
For the above to work you will need to amend the theme files for WooCommerce. This involves updating the sidebar on the product archives page. This should only be undertook by a WP developer and this guide assumes that you have a good knowledge of the WP system and theme files.
Within your site theme, wherever the call is made for the shop category sidebar you need to amend the code and update it with a switch (If statement) to display a our widget as per the below code example.
<?php
/**
* The sidebar containing the main widget area.
*
*/

?>

<div id="secondary" class="widget-area shop-sidebar" role="complementary">
    <?php
        if(isset($_GET["viaSelector"]) && isset($_GET["brand"])) {
        switch ($_GET["brand"]) {
            case "motorcycle-parts":
                do_shortcode("[mlo-powerparts-tree parts-root-category='parts-and-accessories']");
            break;
        }
        } else {
            //Load your normal WooCommerce categories widget here
        }
    ?>
</div>
The above is our example but you feel free to use whatever method you wish to choose. This is the code in our sidebar.php file and the important php snippet is in bold. This basically says if the page has been accessed via the fitment selector AND the case is motorcycle-parts, then show the following shortcode. Else revert back to the standard sidebar (or whatever your themes functionality is - this really will be different with every theme).
If you are using manufacturer fed data from MediaLinksOnline
This snippet will need to be changed if you have manufacturer fitment files from MediaLinksOnline. TO use these files you will need to use the following code to switch between the brands. Any unused brands just need to be removed.
if(isset($_GET["viaSelector"]) && isset($_GET["brand"])) {

switch ($_GET["brand"]) {
    case "husqvarna":
        do_shortcode("[mlo-powerparts-tree parts-root-category='husqvarna-accessories']");
    break;
    case "ktm":
        do_shortcode("[mlo-powerparts-tree parts-root-category='ktm-powerparts']");
    break;
    case "gasgas":
        do_shortcode("[mlo-powerparts-tree parts-root-category='gas-gas-accessories']");
    break;
}
} else {
//Load your normal WooCommerce categories widget here
}
Updating the WooCommerce add to cart button
The Spare Parts Finder Plug in uses the selected model from the spare parts finder in the browser session. This stops a user from selecting a model, then browsing the site and trying to purchase a parts that is not for their selected model.
If a user navigates directly to a product display page from a Google search of a social media advert or post the user is forced to select their model to ensure they are buying the correct part.

Once you have made your selection (or have already came via the original fitment selectors) you should see the following message and checkout is then enabled.
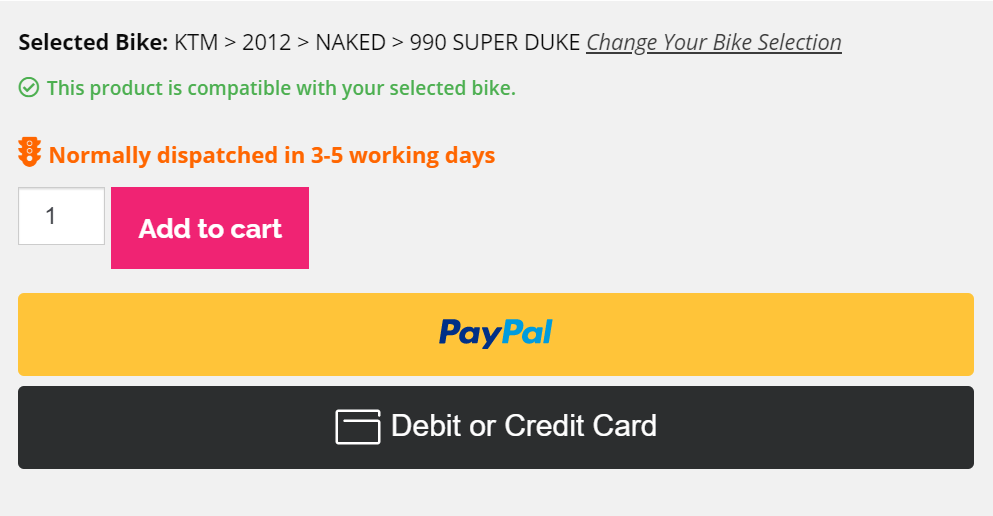
If for any reason a user finds they have navigated to a part that is not correct for their selected model, then signposting will appear informing the user of this and prompting them to view all parts for their selected bike with a useful link.

If you are using a page builder for your WooCommerce Products page
If you are using a page builder to design the layout of your page, such as Elementor. Then you might need to replace the standard Add to cart button that the page builder uses and replace it with this custom shortcode.
[mlo_fitment_product_selector]
Hosting Notes
- If hosting on WP Engine, you'll need to ask them to exclude the PHPSESSID cookie from their cache. That destroys our ability to use the traditional PHP session to remember what bike is selected.
If you need any further assistance please contact support@medialinksonline.com