As per the previous guide 'Step 1 - Creating your custom new model category page', you need to start off by creating a new page in your site. This one however will be for your sub-category area. So for instance in the first guide we created a top level page for 'New Peugeot Scooters Devon'. A sub-category page title for this manufacturer could simply be 'Peugeot 125cc Scooters'.
Nesting this new category underneath the parent landing page
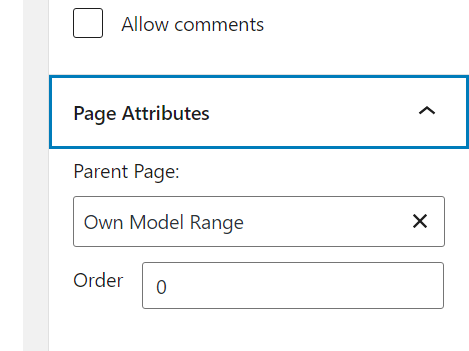
To make this new page a sub-category underneath the main model landing page you need to use the 'page attributes' dropdown in the bottom right hand corner of the above page like so and pick the correct parent page. This will ensure the URLs are nested correctly.
For the example we are working with here, it would generate a full page URL like this - https://www.websiteurlhere.co.uk/new-peugeot-scooters-in-devon/peugeot-125cc-scooters
Setting up your page SEO Meta Data
At this point it's a good idea again to configure the Yoast SEO area of the page to customise the meta data. For more information on this please look at this help section here - https://mlosupport.zendesk.com/hc/en-us/articles/4408037748881
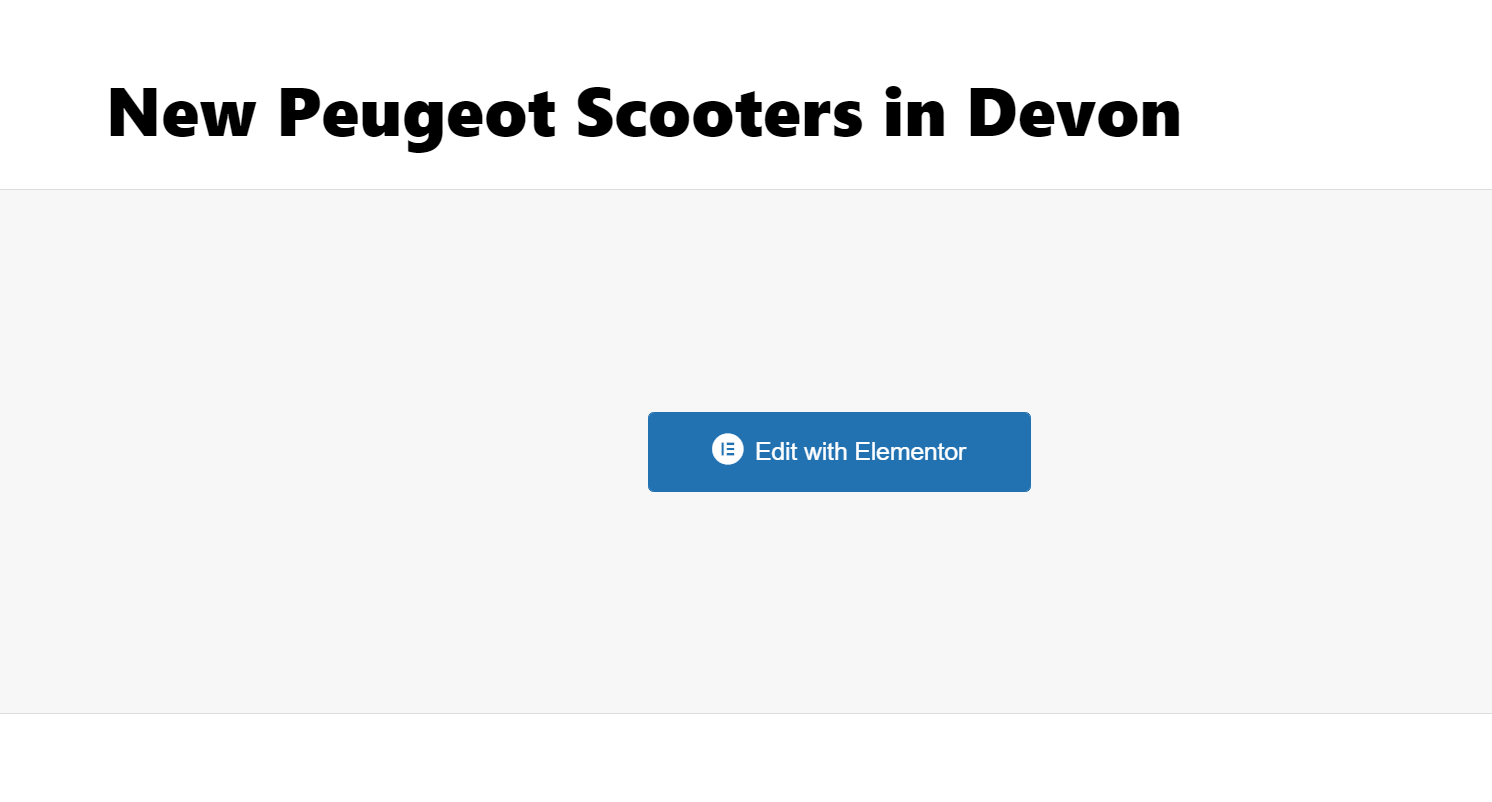
Once the above is complete, you can save the draft and then click 'edit with Elementor'
Editing content in the elementor page builder
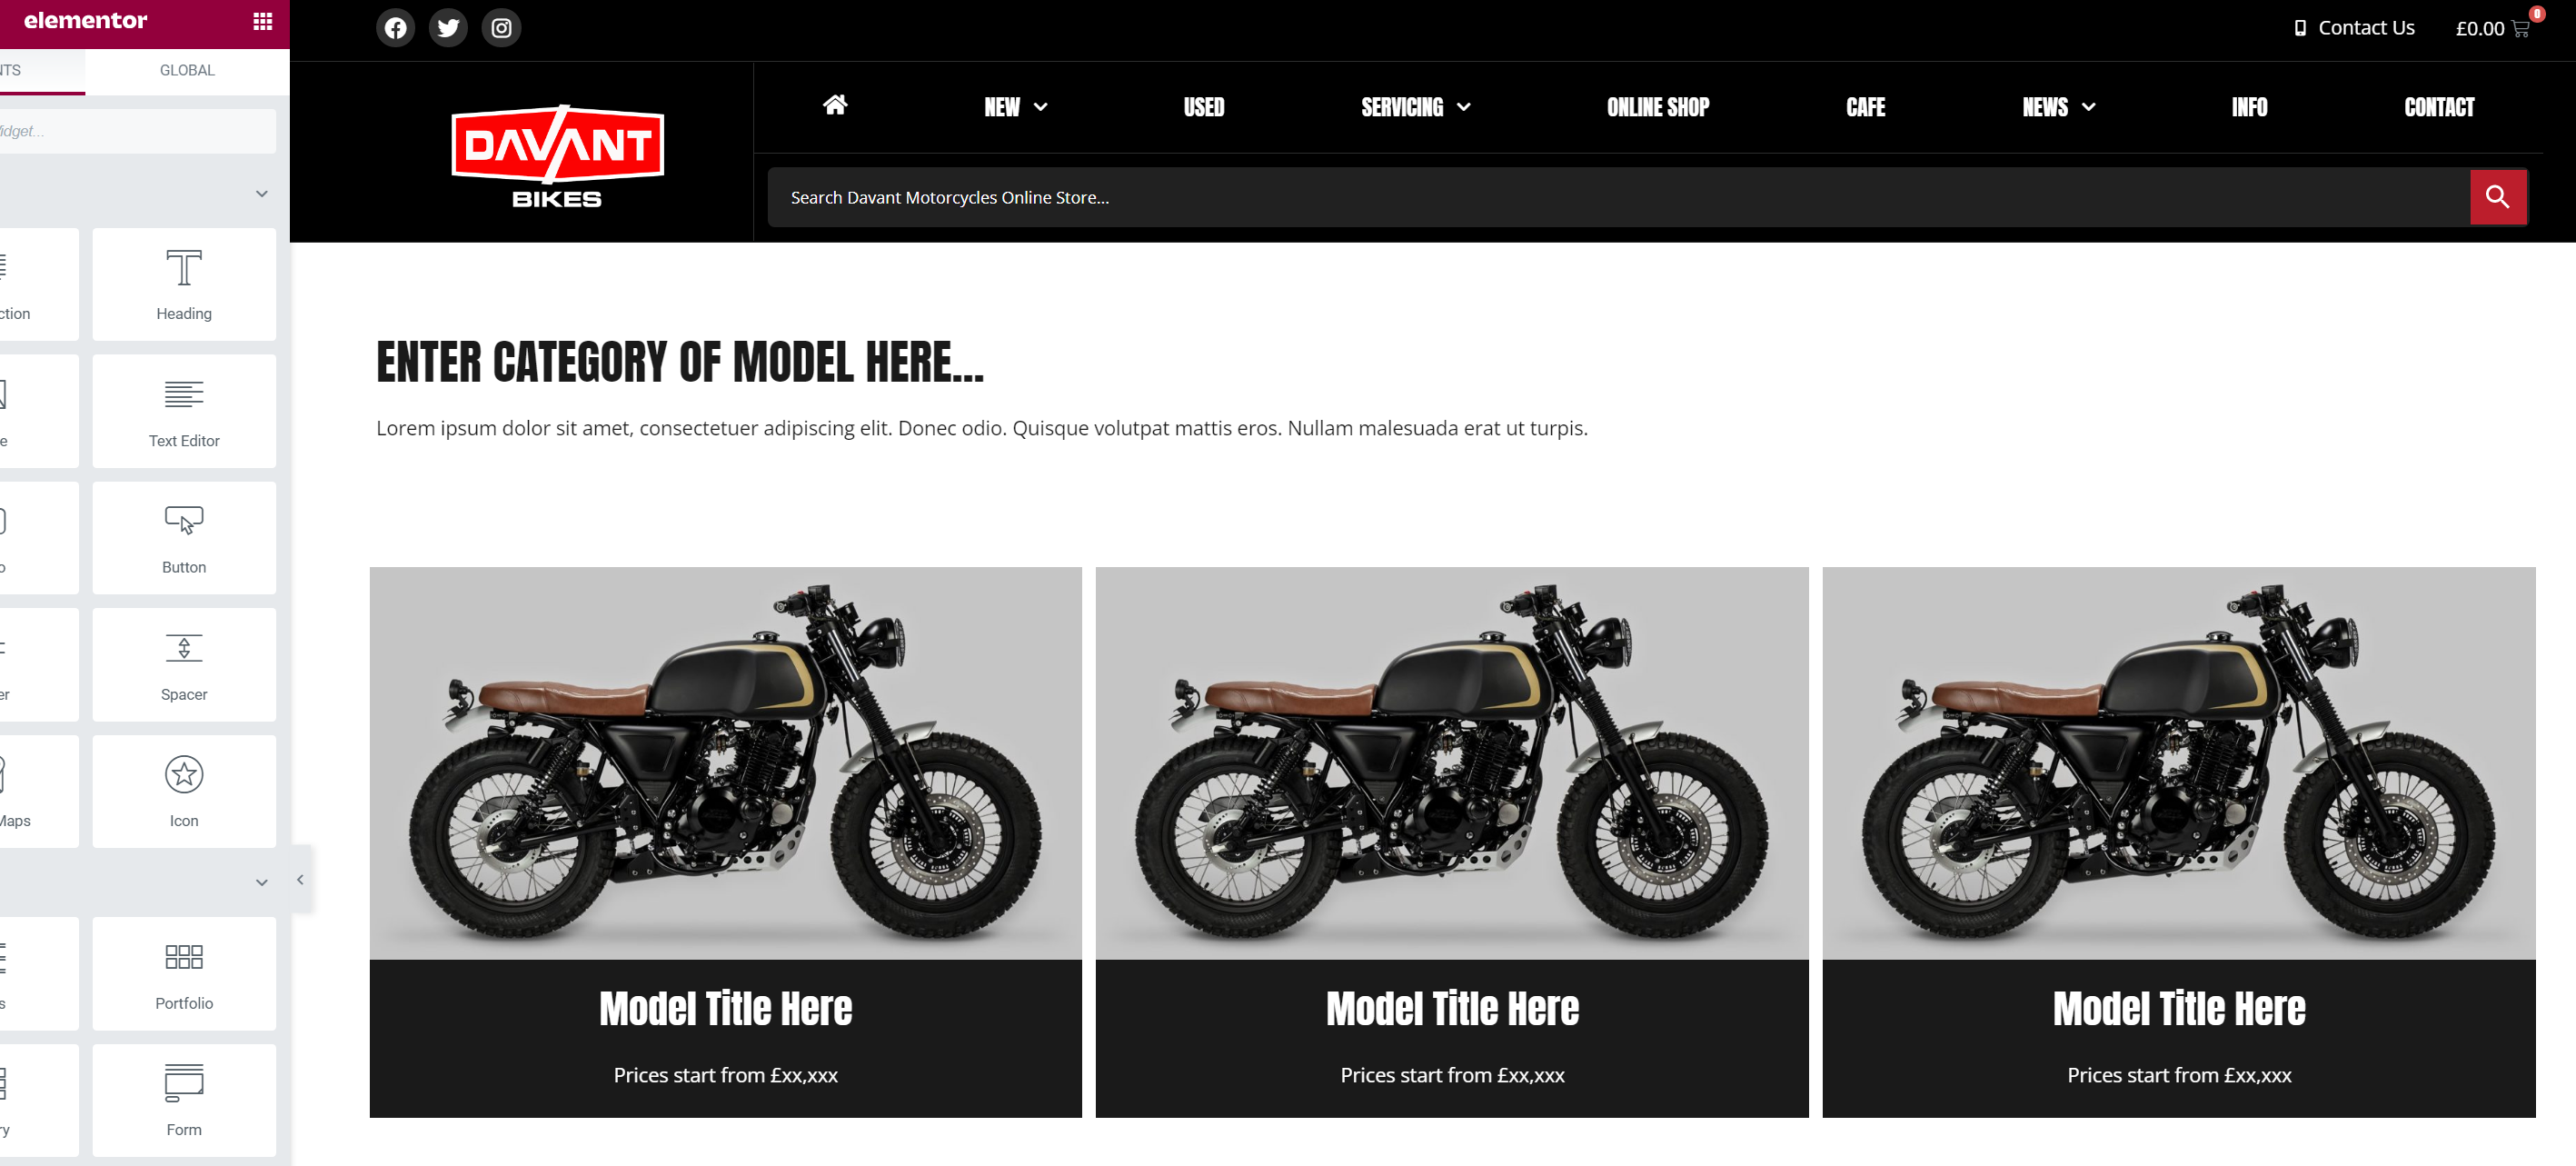
As per the previous step - 'Step 1 - Creating your custom new model category page' you will be taken to a blank Elementor page where you need to load one our pre-made templates. For this sub-cateogry step, you need to choose the template marked 'Top Level Category Template'


The page should then re-load with the template applied ready for you to edit to your liking. We've only created this template as a guide but please feel free to create something of your own.
For more details instructions on how the Elementor page editor works please read this guide.