How to set up a new contact form
Click on Contact > Contact Forms. Here you will see the central administration panel where you can manage multiple contact forms. You will also find the Contact Form 7’s default contact form, labeled Contact Form 1.
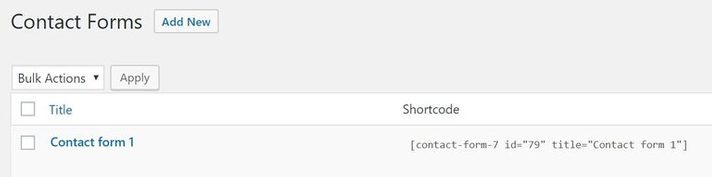
Contact Form 1 contains all the fields a basic contact form may need. This form is ready to use and can be inserted into any page and post of your website, if you wish (this is covered further on).
Alternatively, you can create your own contact form by selecting Contact > Add New.
Creating a new contact form
After creating your own form by selecting Contact > Add New, you need to give your new contact form a name, and then scroll down to Form. Here you can edit the new contact form template.
Your template defines the various fields that will appear on your form, as well as the labels that appear next to those fields.
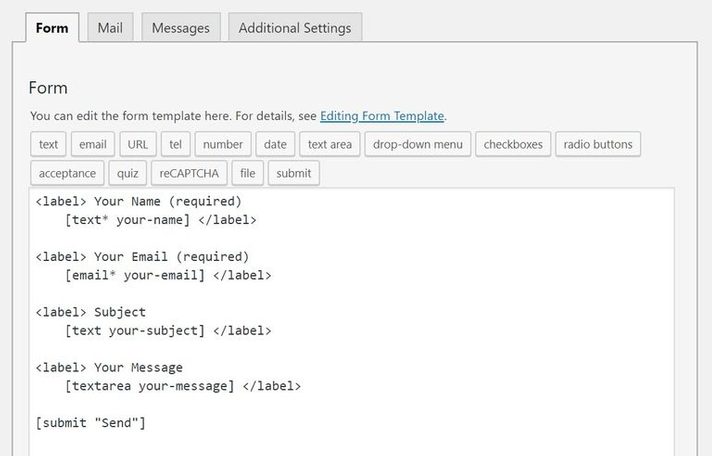
By default, Contact Form 7 adds a number of fields to new forms, including name, email, subject, message and send. More than likely, you will want to keep all of these fields.
However, you may want to add extra fields, depending on your site’s needs. To do this, you can select the appropriate tag-generator button to generate the correct form-tag. For example, to add a URL field, you just click on the URL button (as marked below).
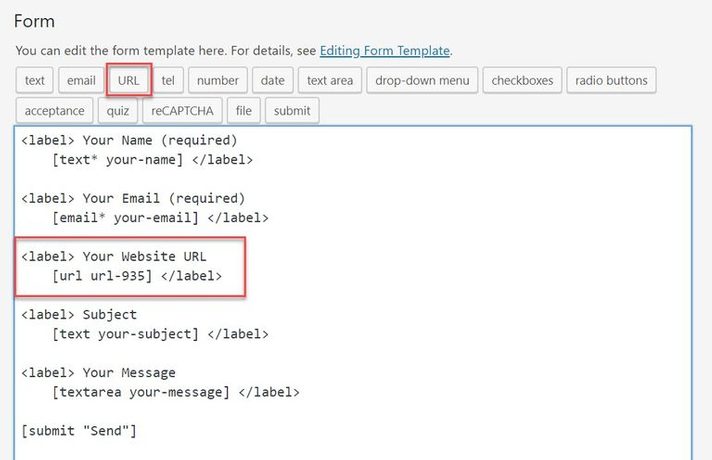
If you want to add a label to your field, you can copy the HTML that accompanies a form-tag from the other fields. For example, when we clicked on the URL button, Contact Form 7 pre-generated the form-tag [url url-935]. We then added the extra HTML for the label, so the final URL field read as:
<label> Your Website URL
[url url-935] </label>
Setting up mail to control email notifications
Any extra fields you add to your contact form are not automatically reflected in the email notification template settings. Therefore, once you have finished customising the Form, switch to the Mail, tab.
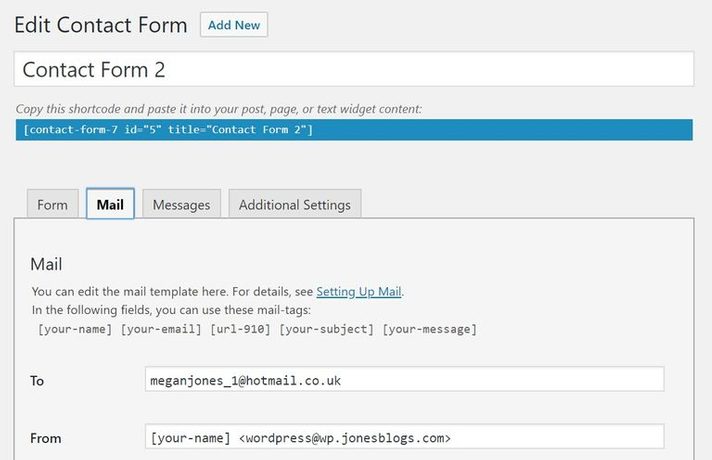
This is the template for the email you will receive when a contact form is sent. In the To field, check that the email address is correct, as this is where any contact form correspondence will be sent. (Contact Form 7 by default will add the email that is linked to your website).
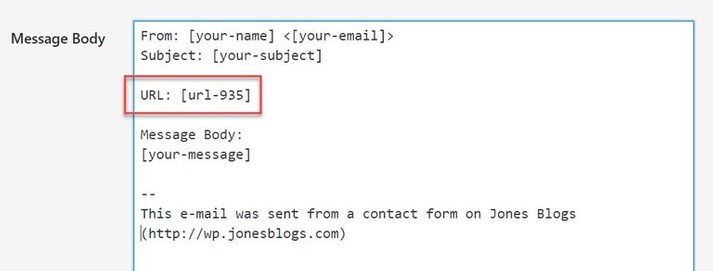
Scroll down to the Message Body section and add the extra form-tags that you generated for your form. This will ensure that when you receive an email via your contact form, it will display all the information you asked the sender to share.
To add a field to your email template, just copy over the form field from your template. You can also add regular text around your fields. You can see how we did this in the screenshot below:
Again, remember to click on Save once your mail settings are complete.
Insert a contact form into a page or post
You now know how to set up Contact Form 7, create a contact form, and adjust the mail settings. The last step in the process is to now insert the contact form into a page or post on your WordPress website.
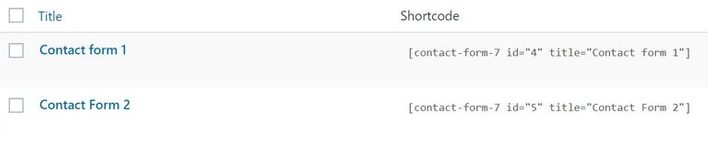
Select Contact > Contact Forms. Then copy the shortcode next to the form that you want to add to your site.
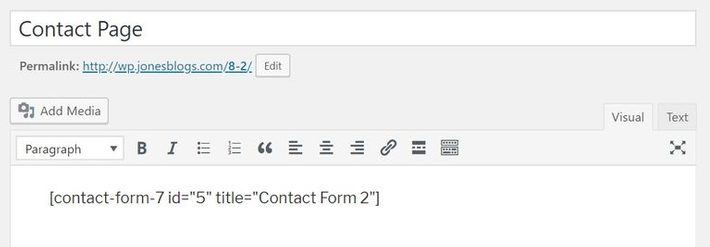
Next, open the page or post where you would like to insert the contact form. Paste the shortcode in the text area of the post editor where you would like the contact form displayed.
Preview the page, and if you are happy with the results, click Publish. Once your contact form has gone live, test it to check it is working. Your contact form response should be sent directly to the email address you specified in the Mail settings. If your inbox remains empty, check your spam/junk mail before you start troubleshooting.
If you need any assistance with setting up a new form, please contact support@medialinksonline.com
The information on this page has been taken from https://themeisle.com/blog/how-to-set-up-contact-form-7/